
An image gallery of various indicators and telegraphs of enemy mechanics in Final Fantasy XIV.
Image Gallery
| Image | Description | How to Handle the Mechanic |
|---|---|---|
 |
Enemy Cast Bar | Shows the action currently being cast by the enemy. Damage occurs when the cast bar is full. |
 |
Interruptable Cast | If the cast bar is flashing, the enemy's action can be interrupted with moves like Interject, Head Graze, and stuns. |
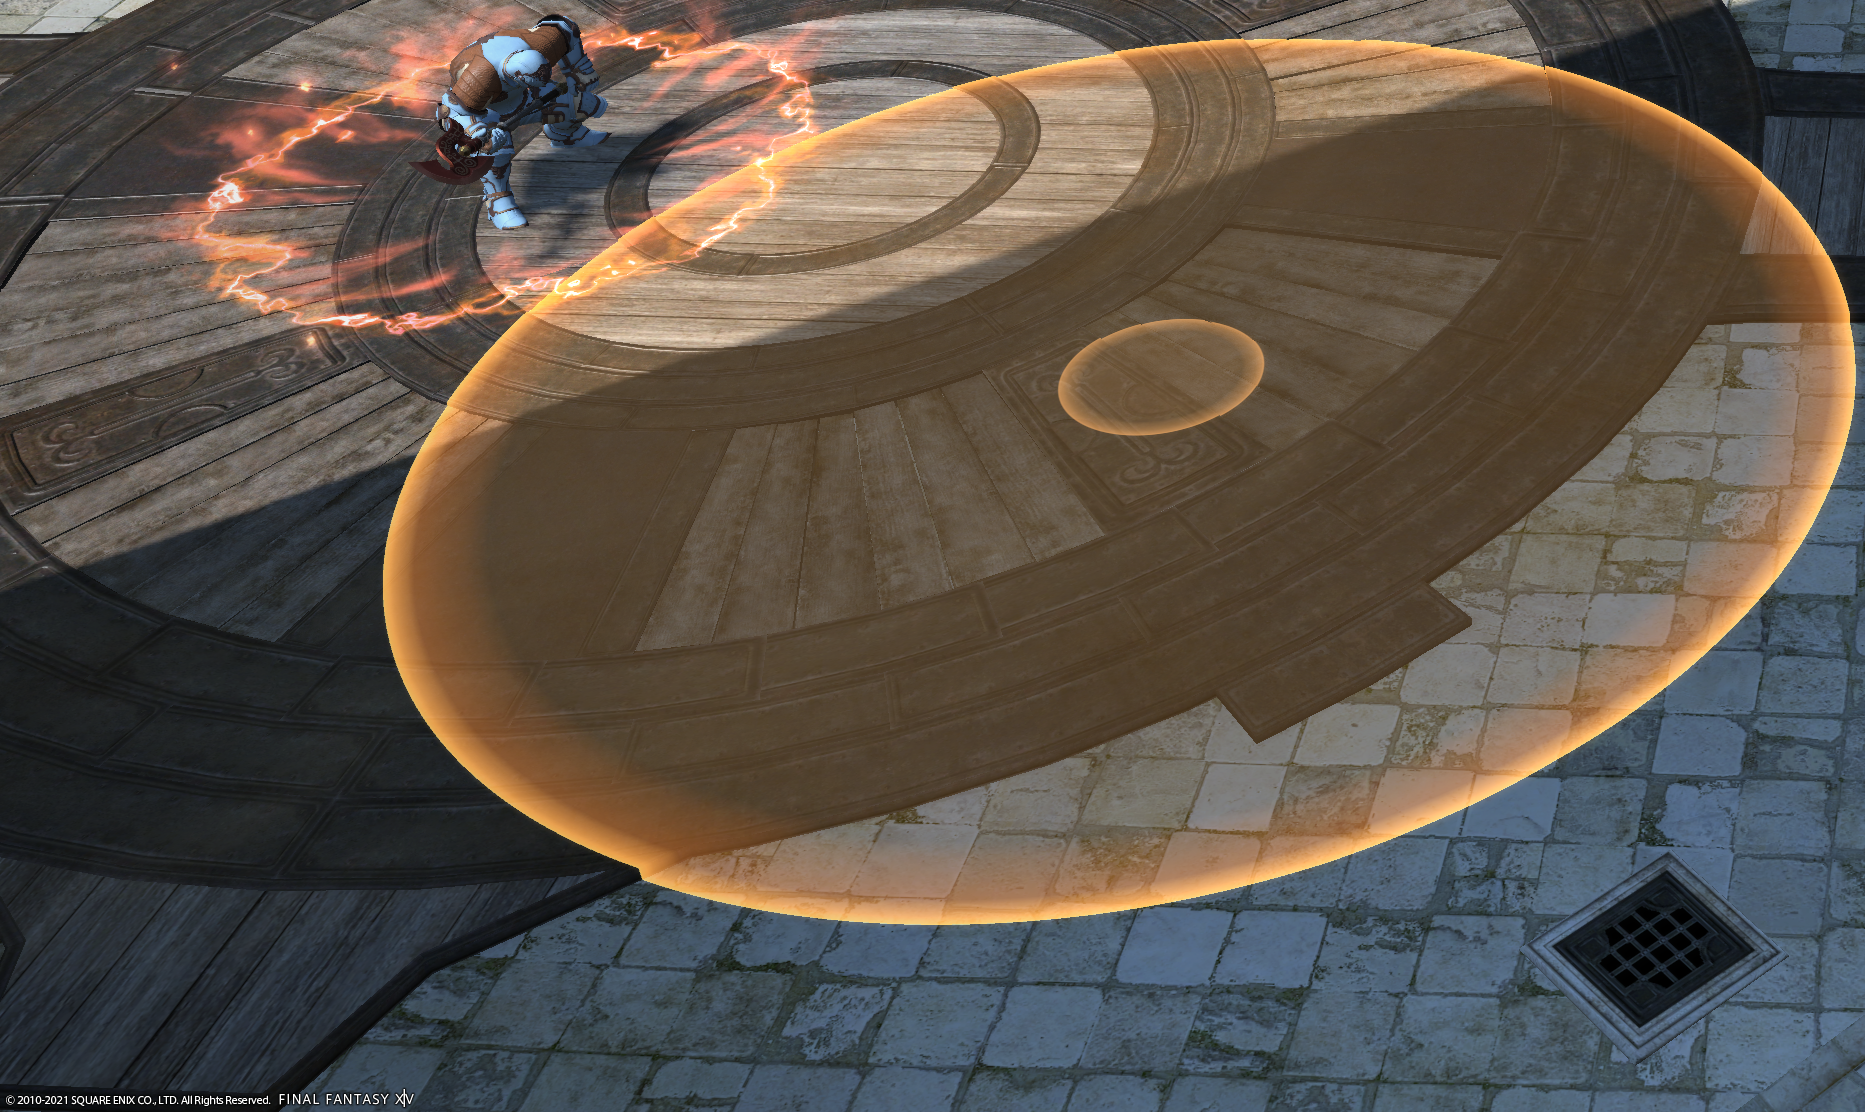 |
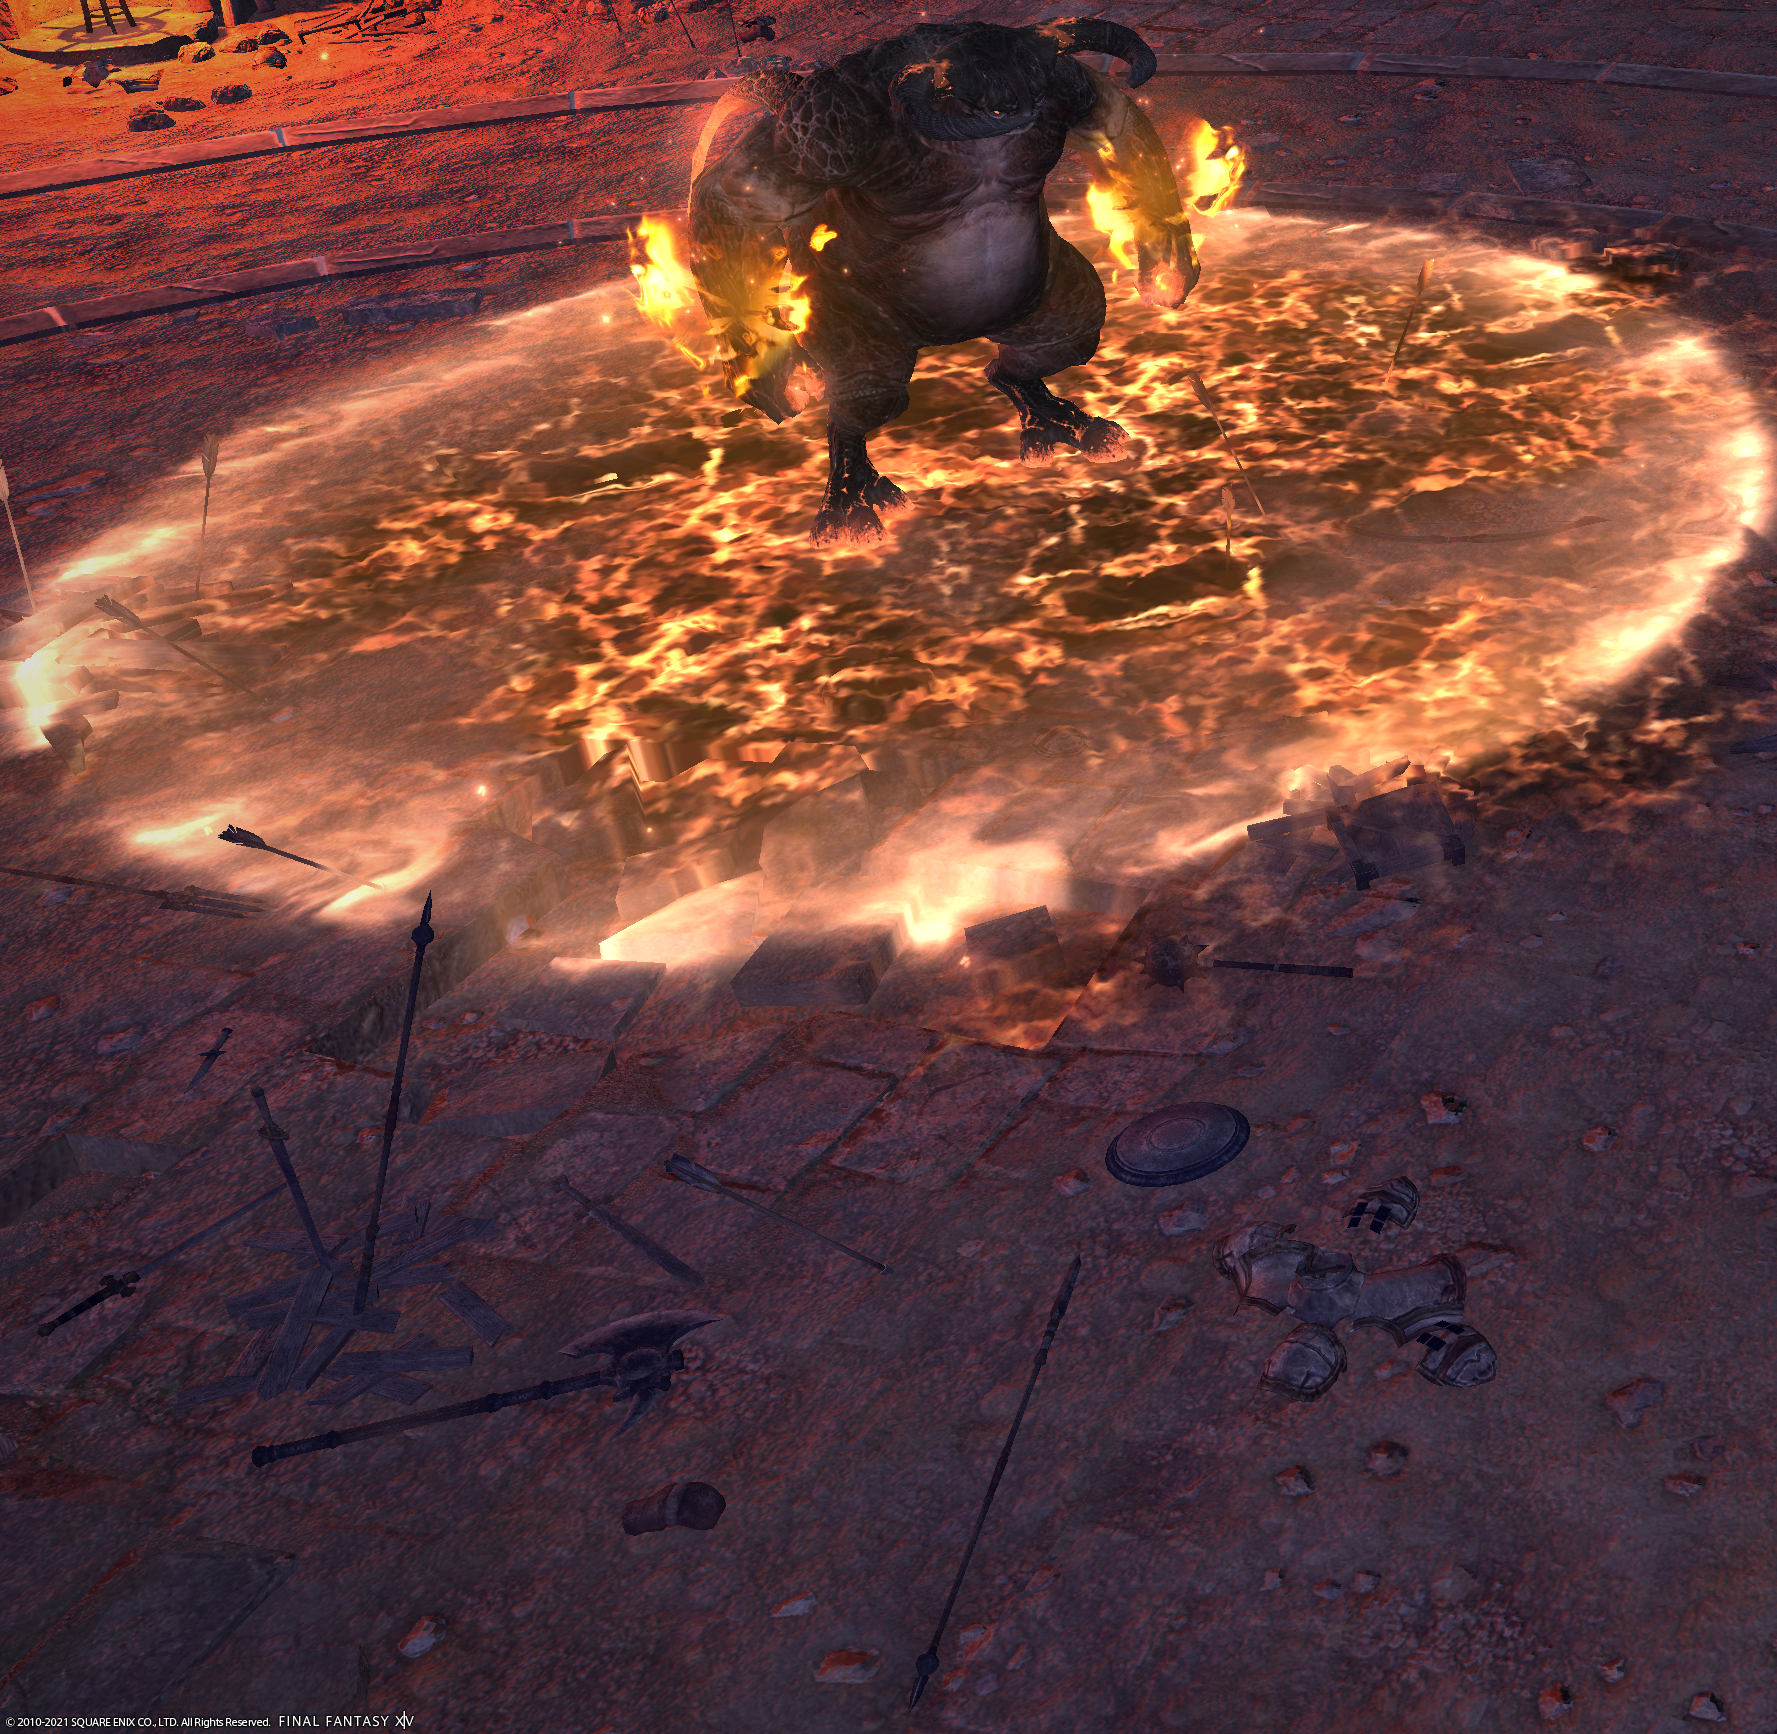
Circle Attack | An attack that will only affect the area marked by the orange circle. Damage occurs when the cast bar is full. |
| circle attack centered on an enemy or object | An attack that will only affect the circular area centered on an enemy or object. Damage occurs when the cast bar is full. | |
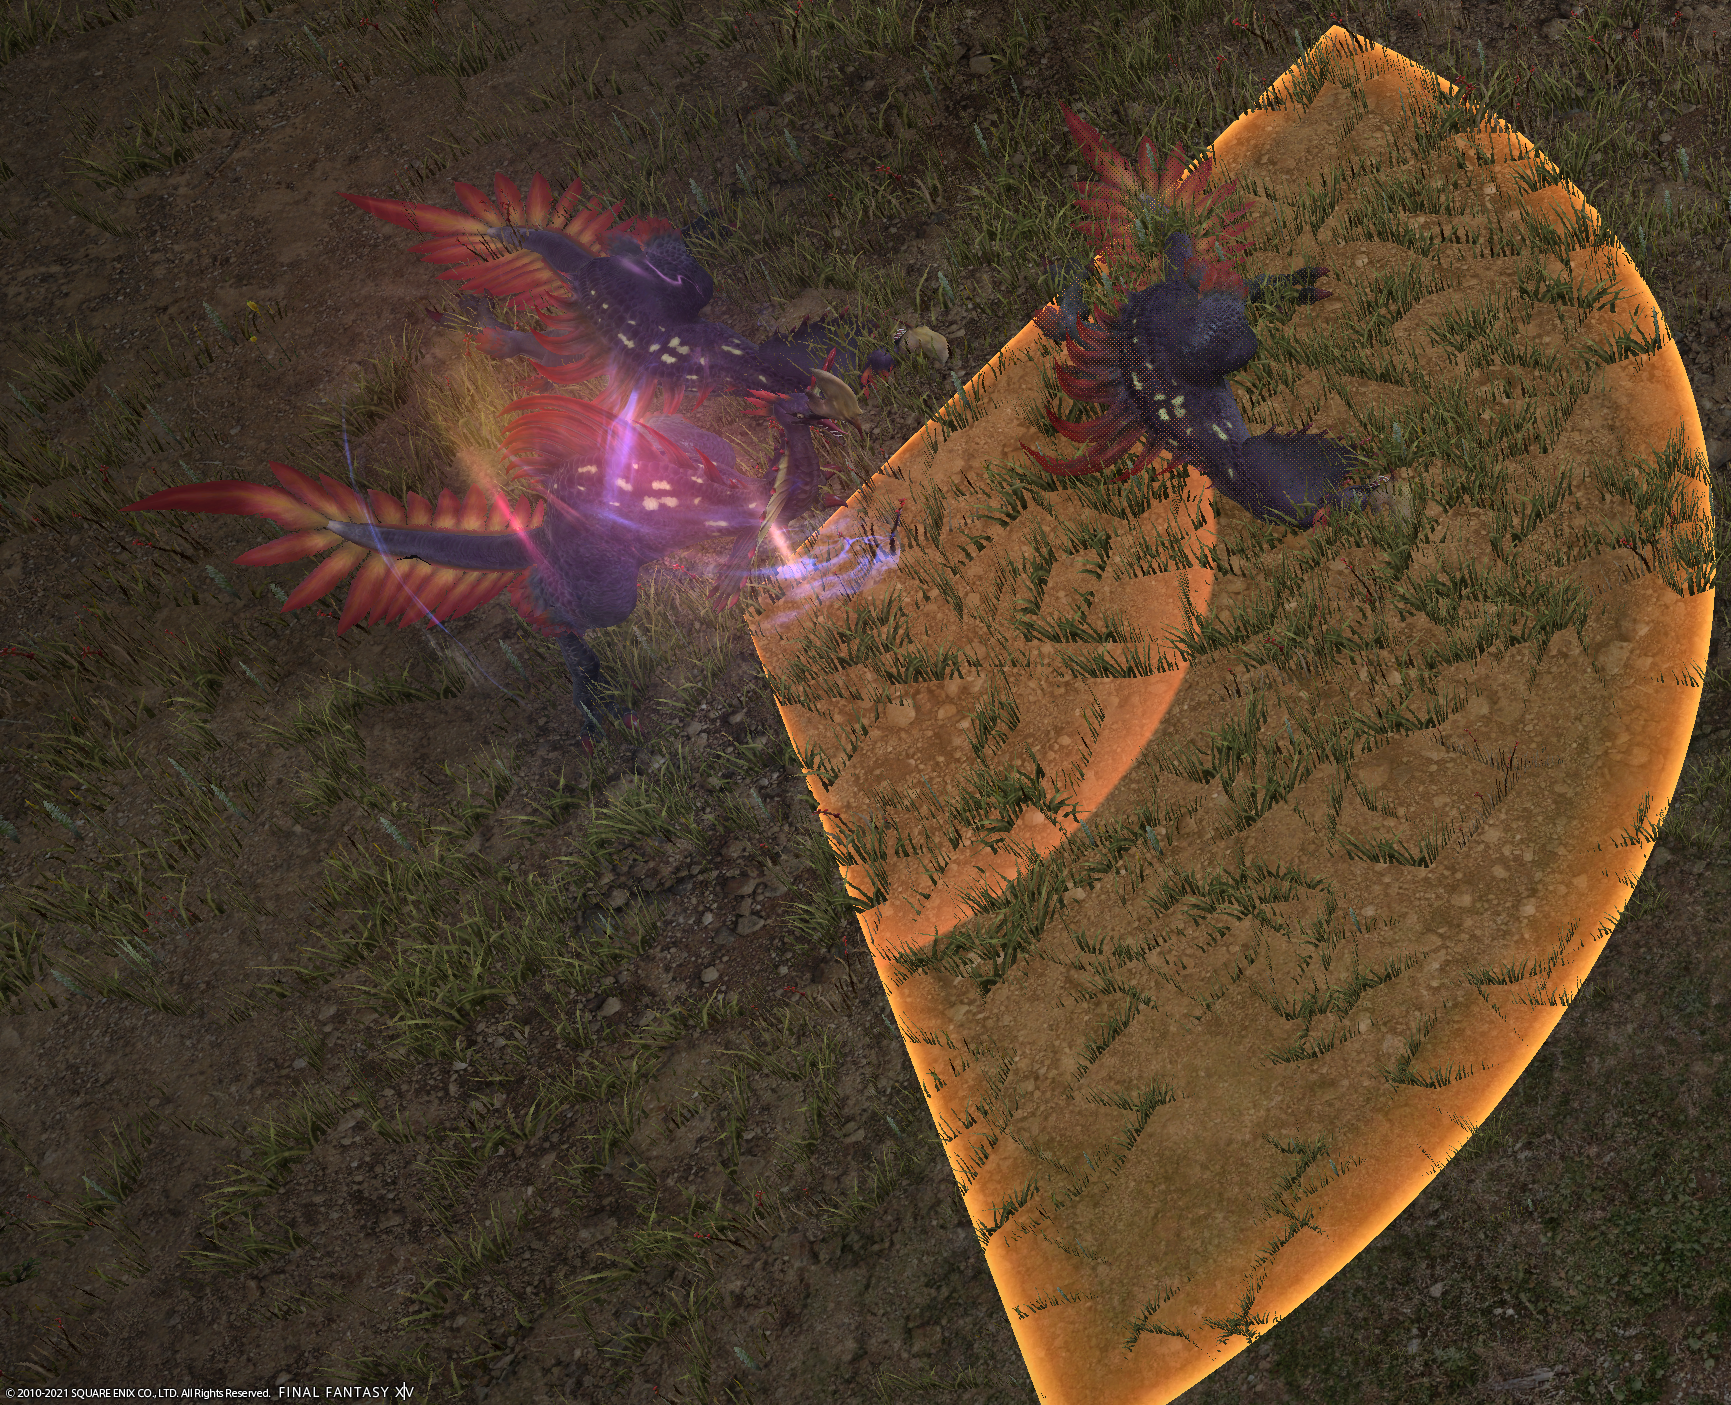 |
Frontal Cone Attack | An attack that will only affect the area marked by the orange cone. Damage occurs when the cast bar is full. |
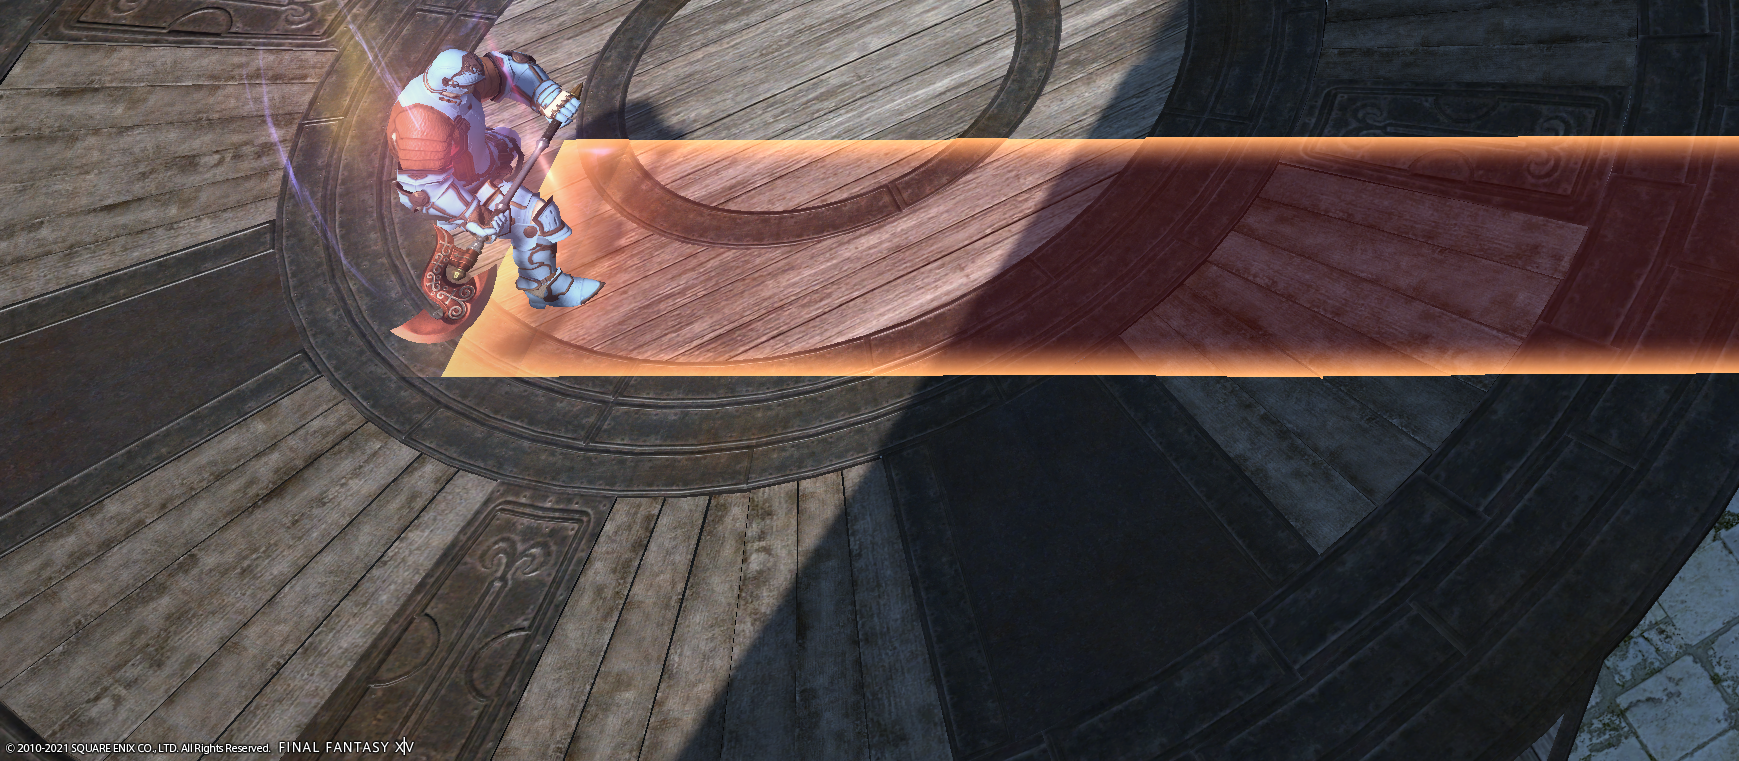  |
Line Attack | An attack that will only affect the area marked by the line. Damage occurs when the cast bar is full. |
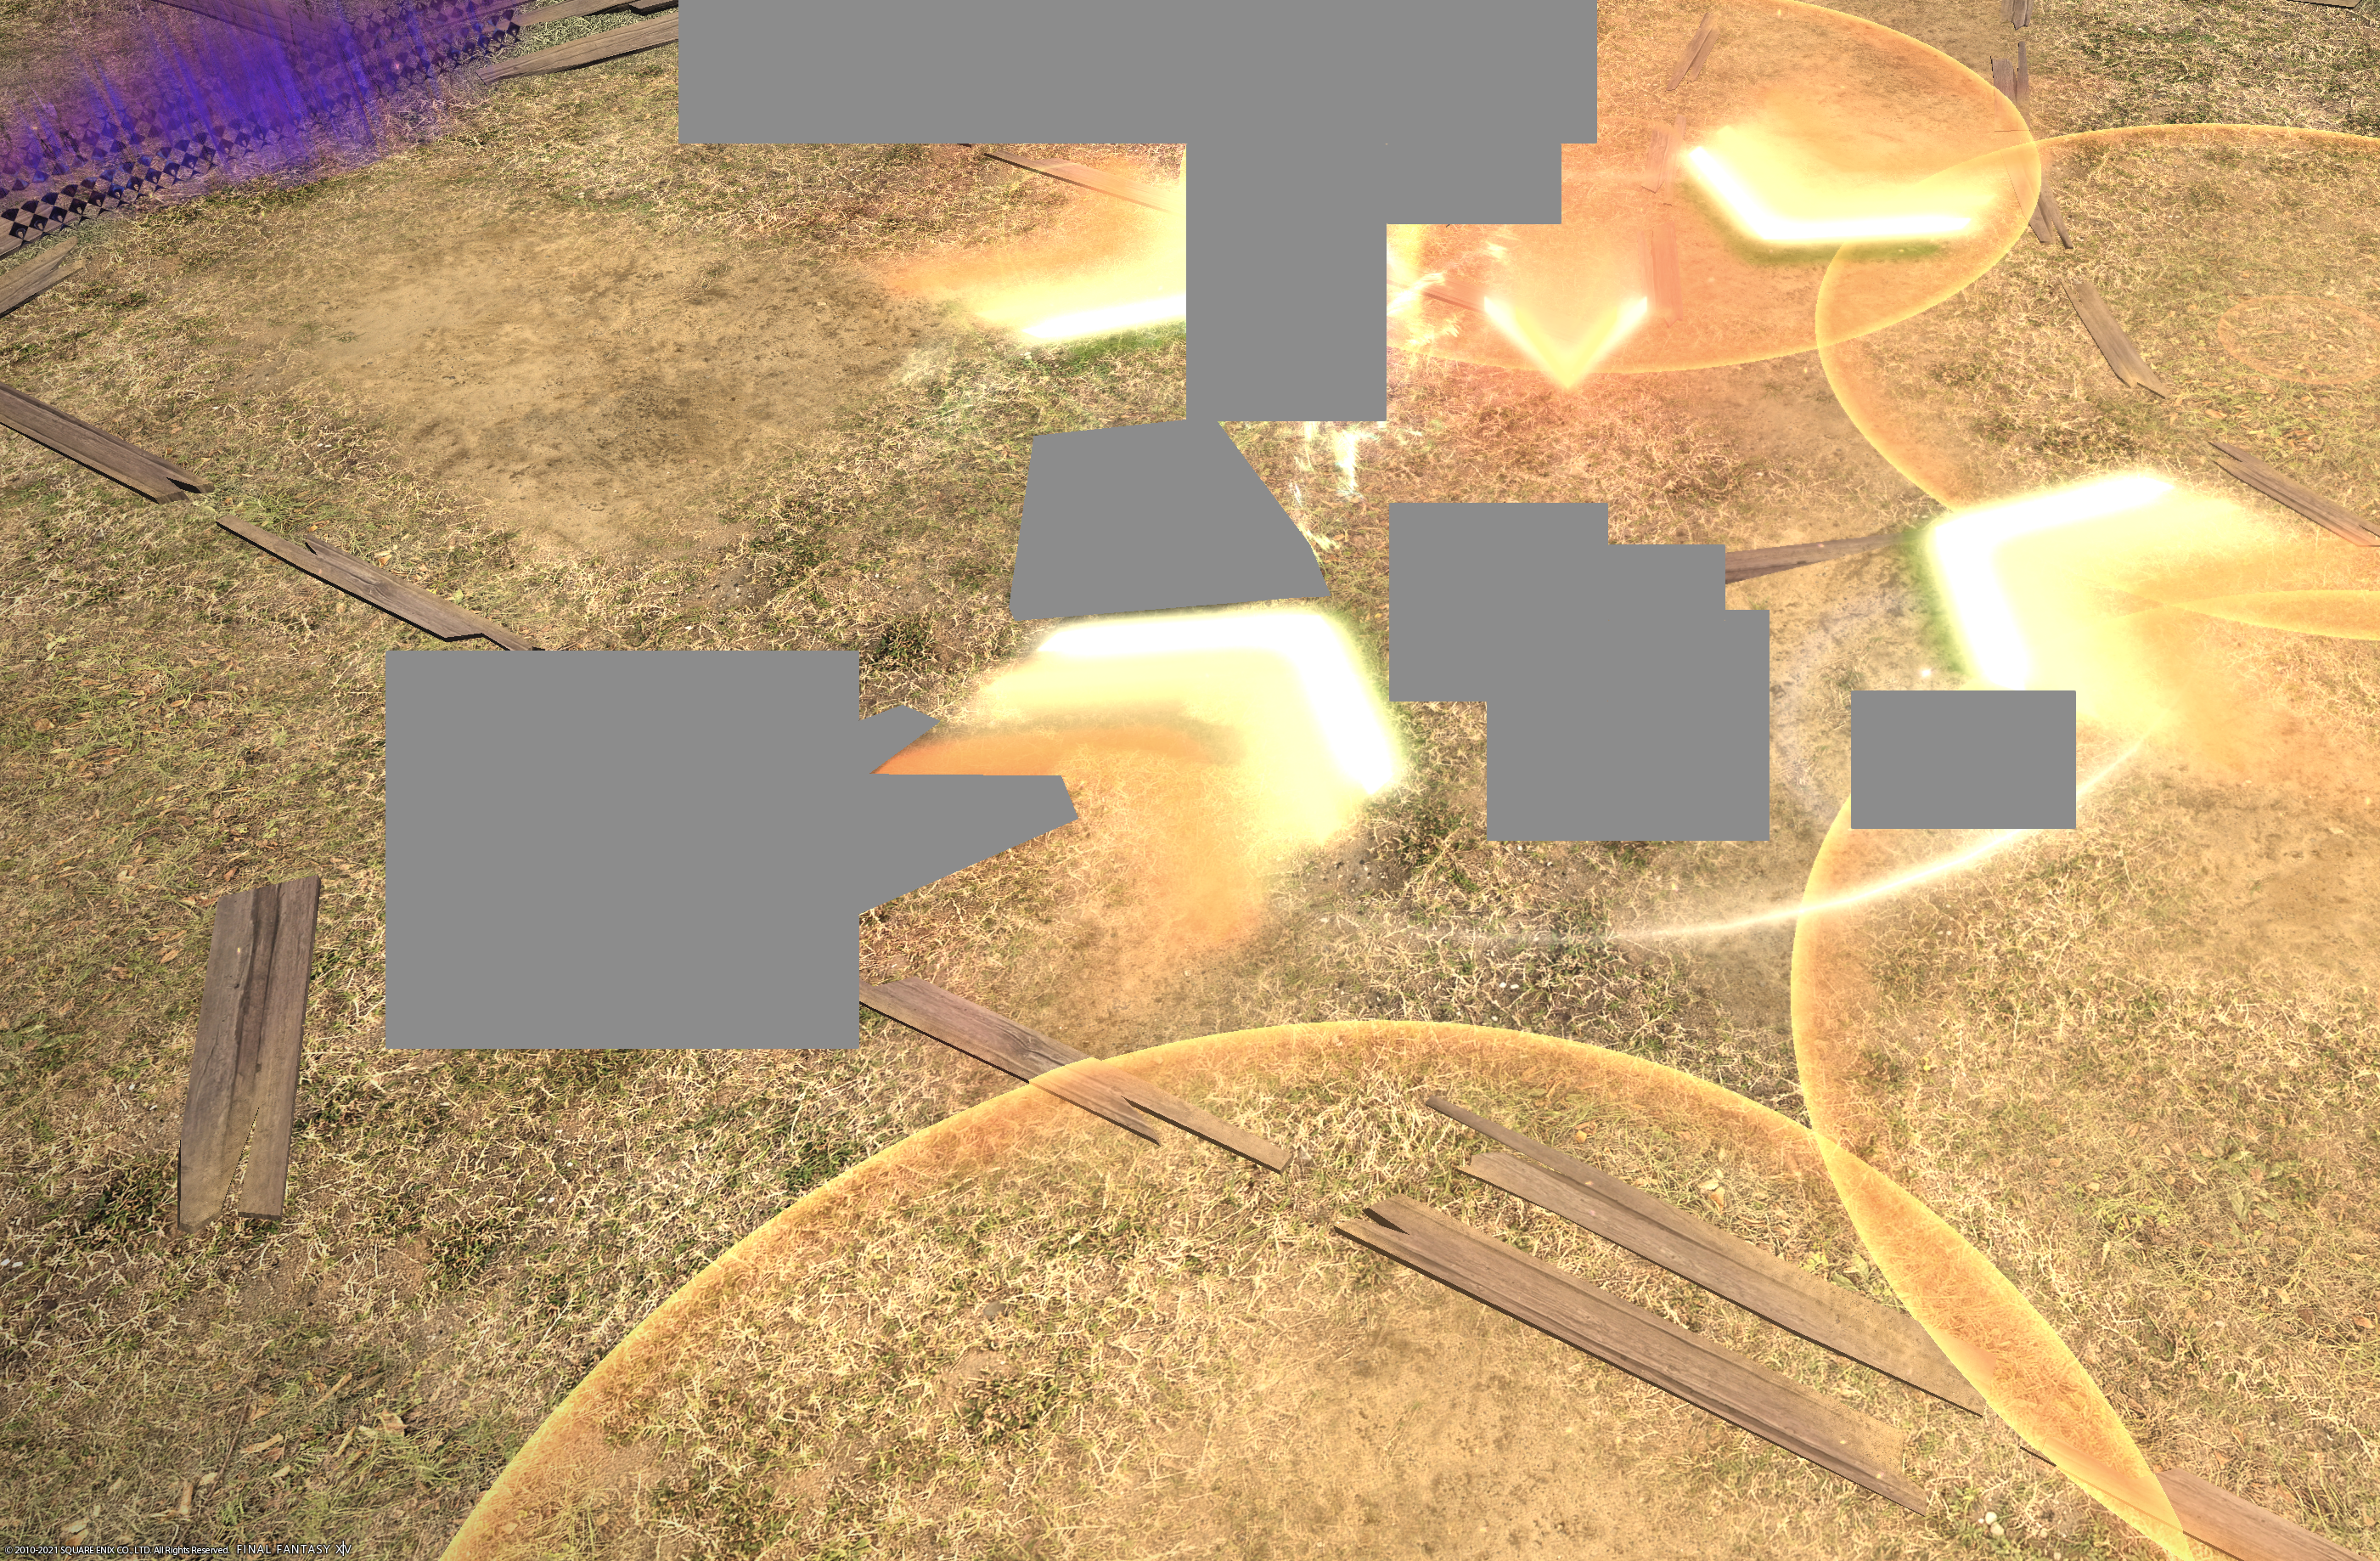 |
Stack Marker | A player who is marked with a stack marker will take a lot of damage if other players do not go to their location to share the damage. The player with the stack marker should find a safe spot to stand still near the rest of the party, to allow the other players to go to the location of the stack marker and share the damage. (Portions of this image have been hidden to avoid spoilers.) If more than one player has a stack marker, they should not stack with each other. The markers should be spread apart and players should ensure that there are multiple players in each stack. |
 |
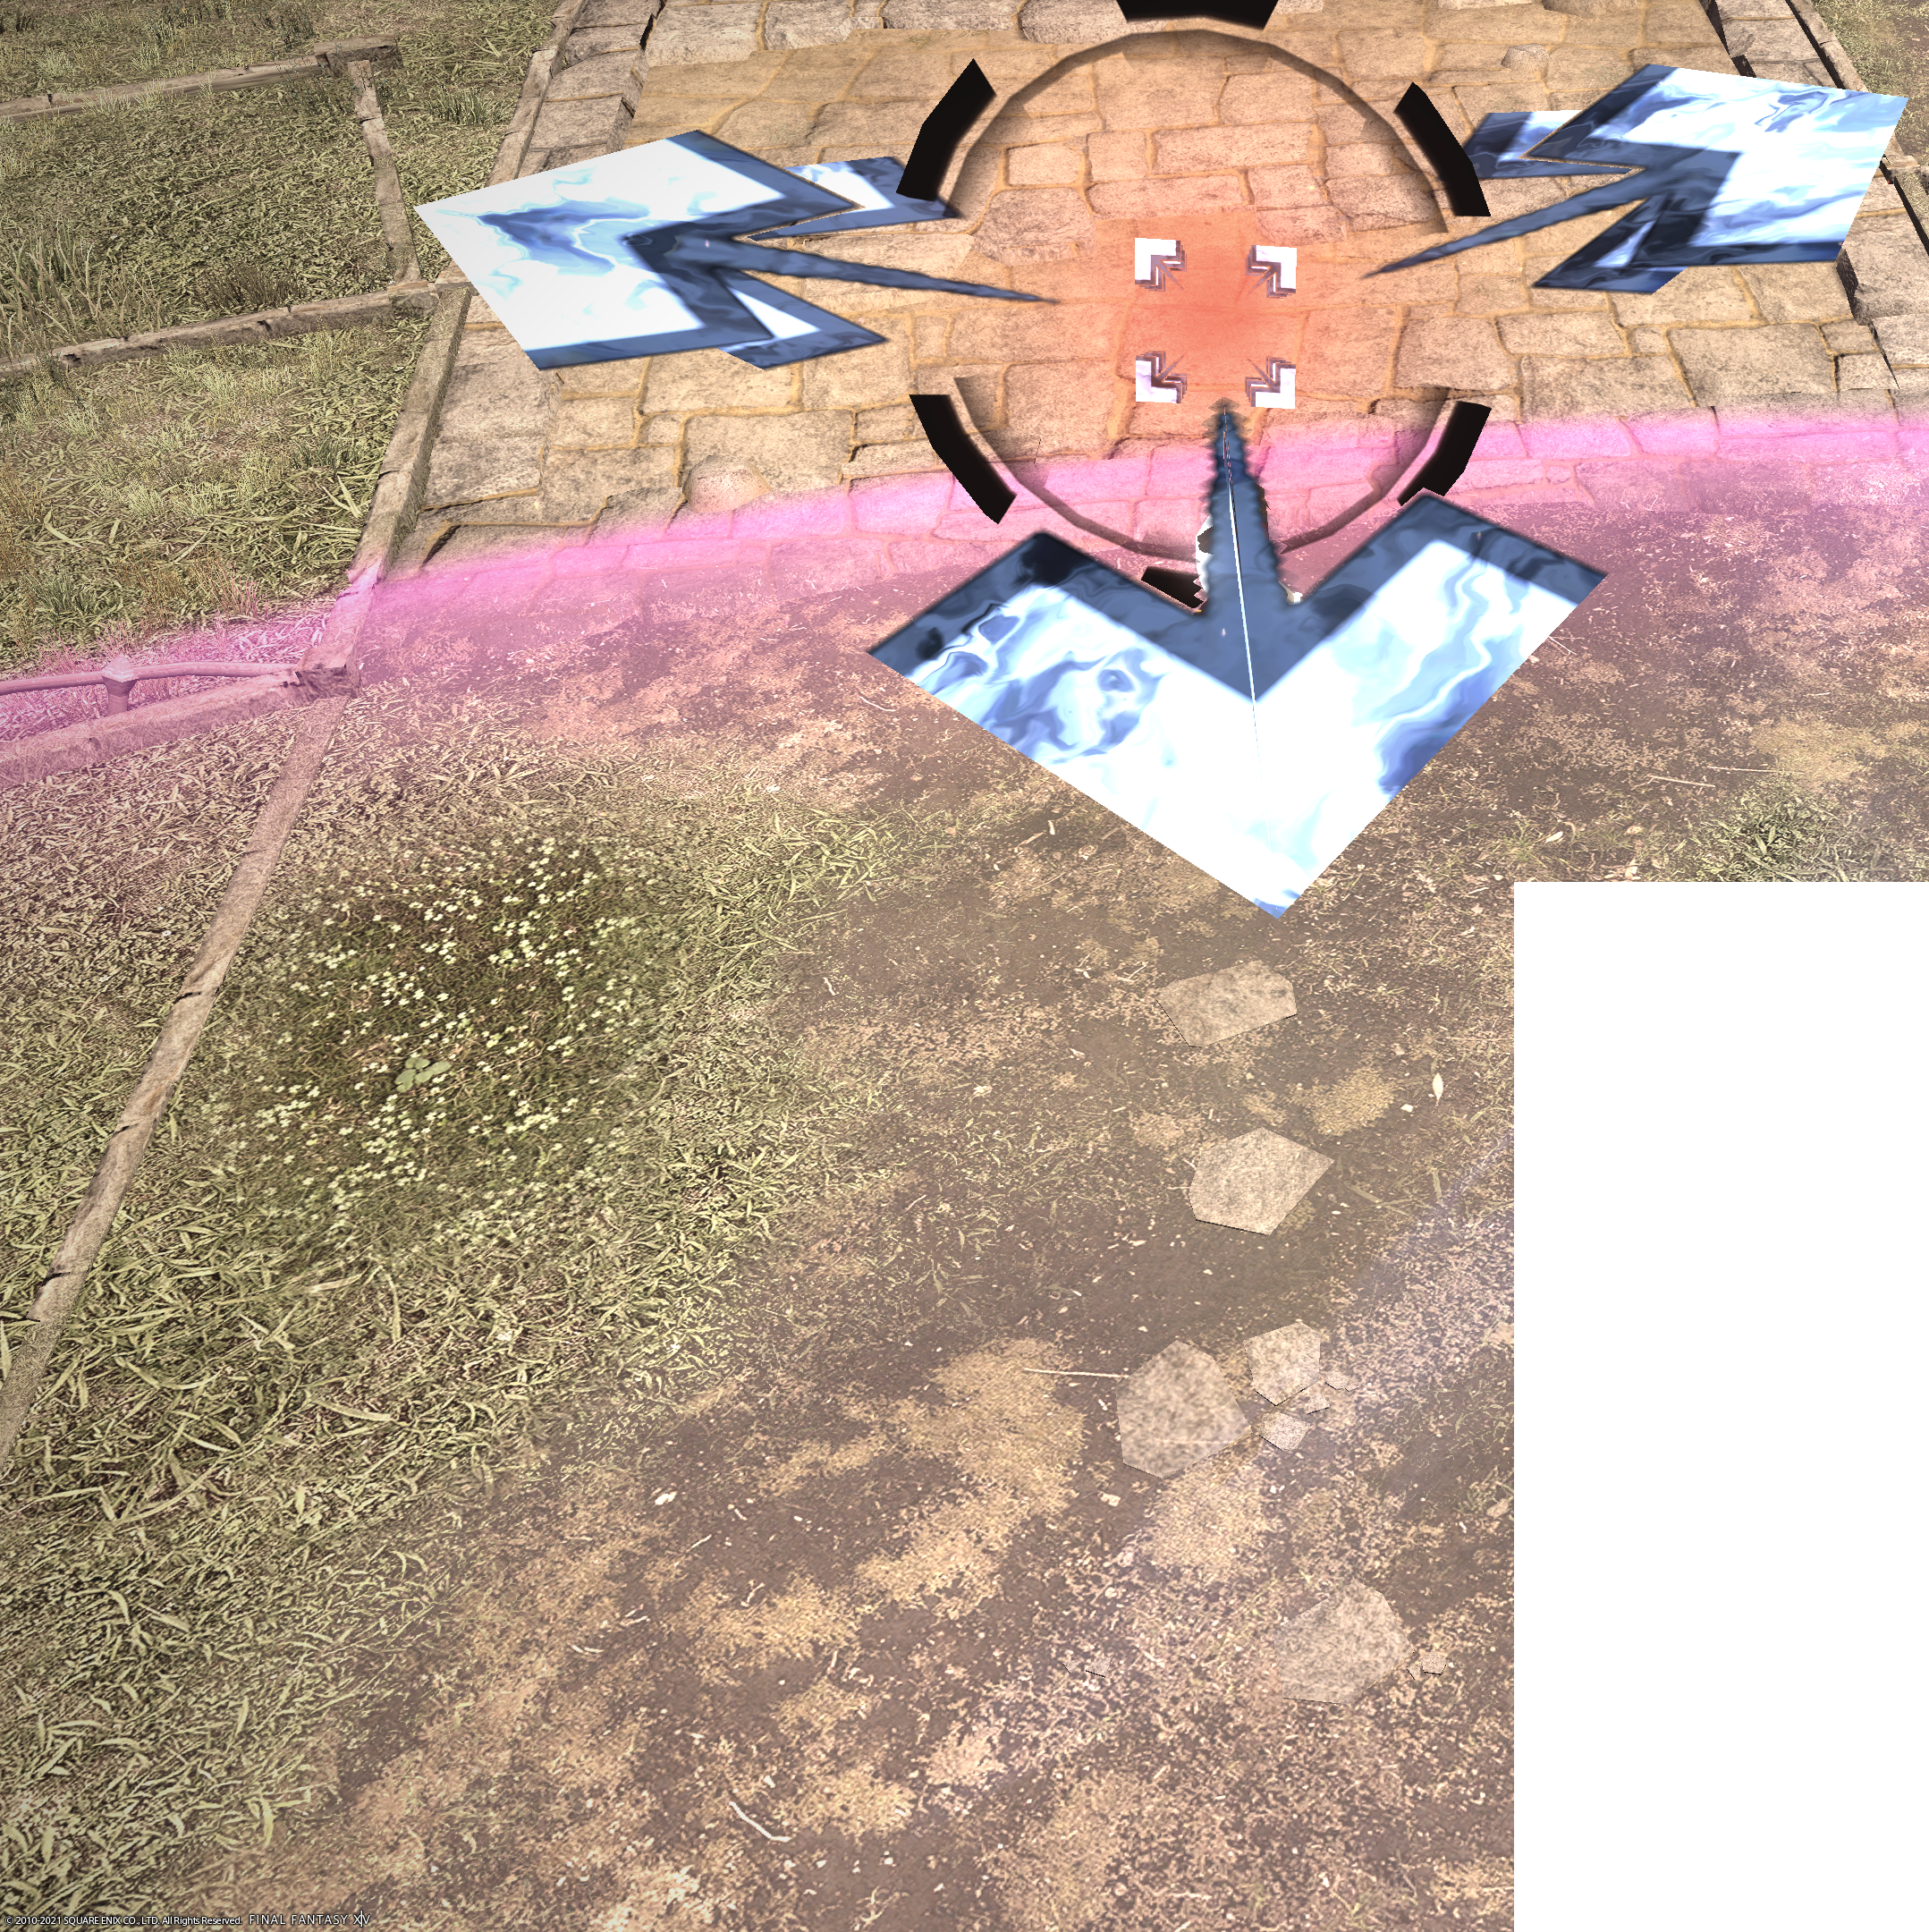
Stack-Line Marker | Similar to the stack marker (see above), the player who is marked with the stack-line marker will take a lot of damage if other players do not stand in the line indicated by the marker, to share the damage. The player with the stack-line marker should find a safe spot to stand still near the rest of the party, to allow the other players to go to the location of the stack-line marker and share the damage. (Portions of this image have been hidden to avoid spoilers.) If more than one player has a stack-line marker, they should not overlap their respective lines. The markers should be spread apart and players should ensure that there are multiple players in each line. |
 |
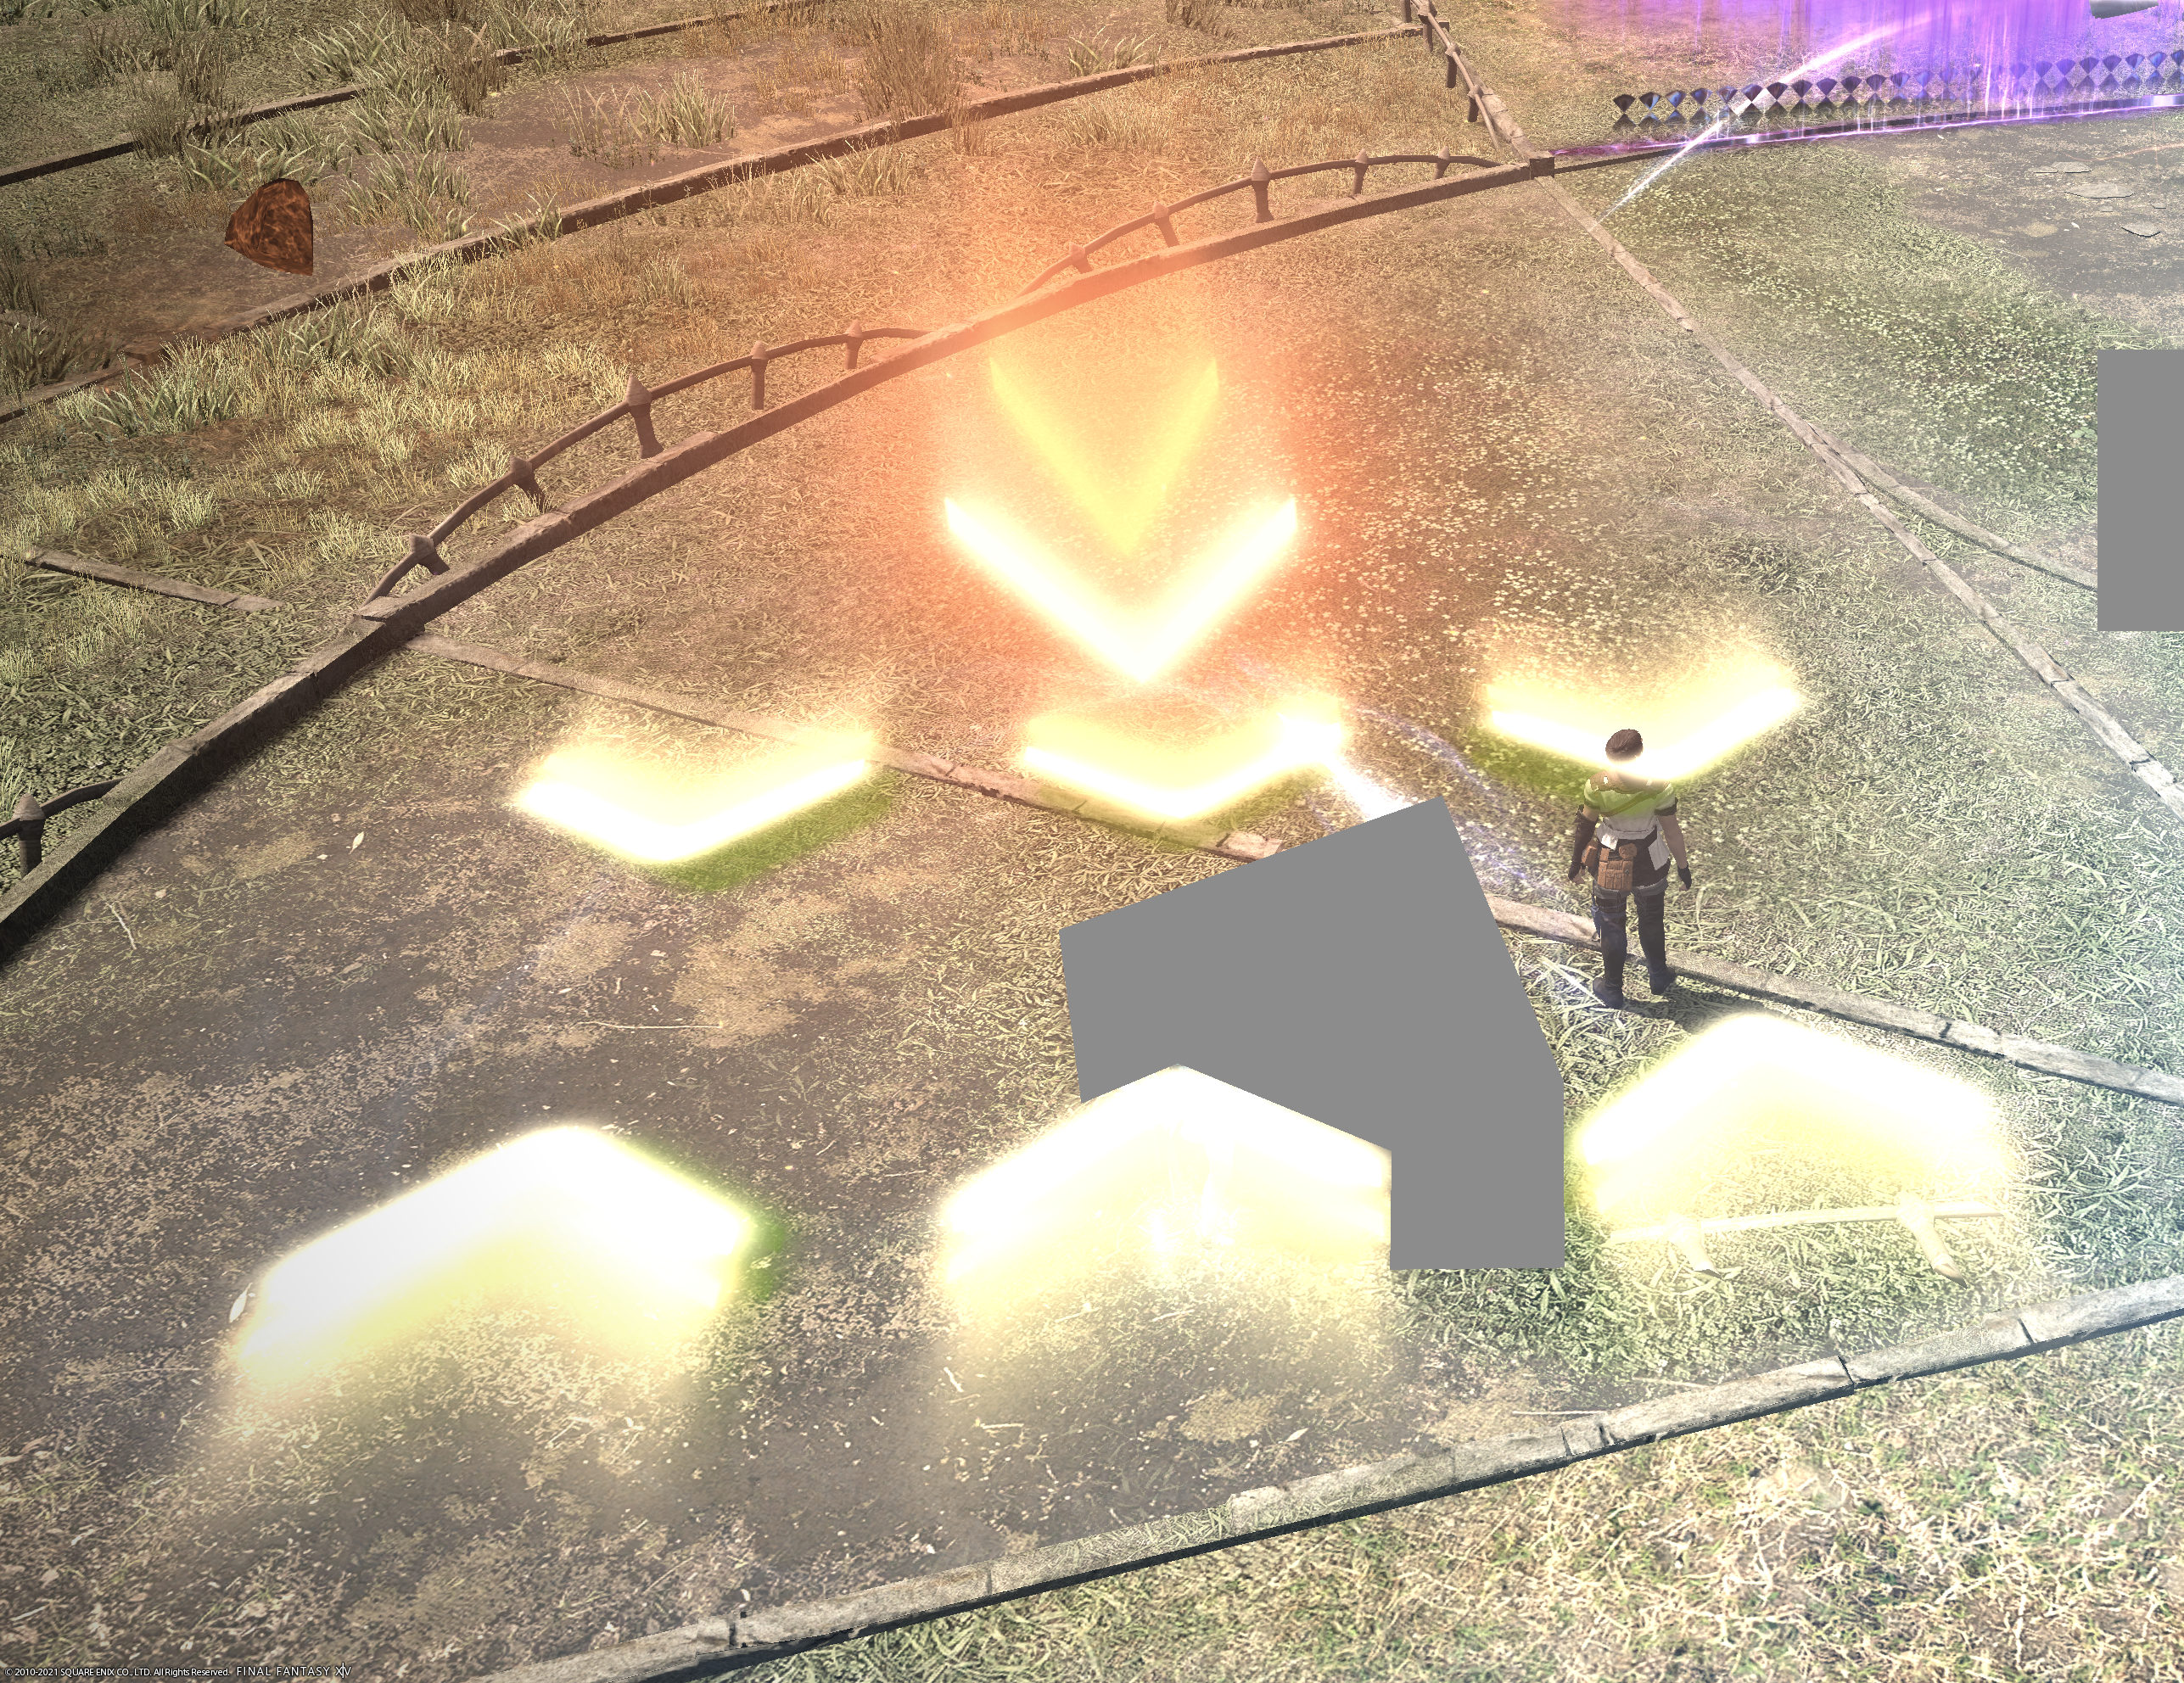
Flare Marker | A player marked with a flare marker should move away from other players. Players will take more damage the closer they are to the player with the flare marker. If multiple players have this marker, they can move to opposite sides of the area to allow the other players to move to the center to reduce damage. |
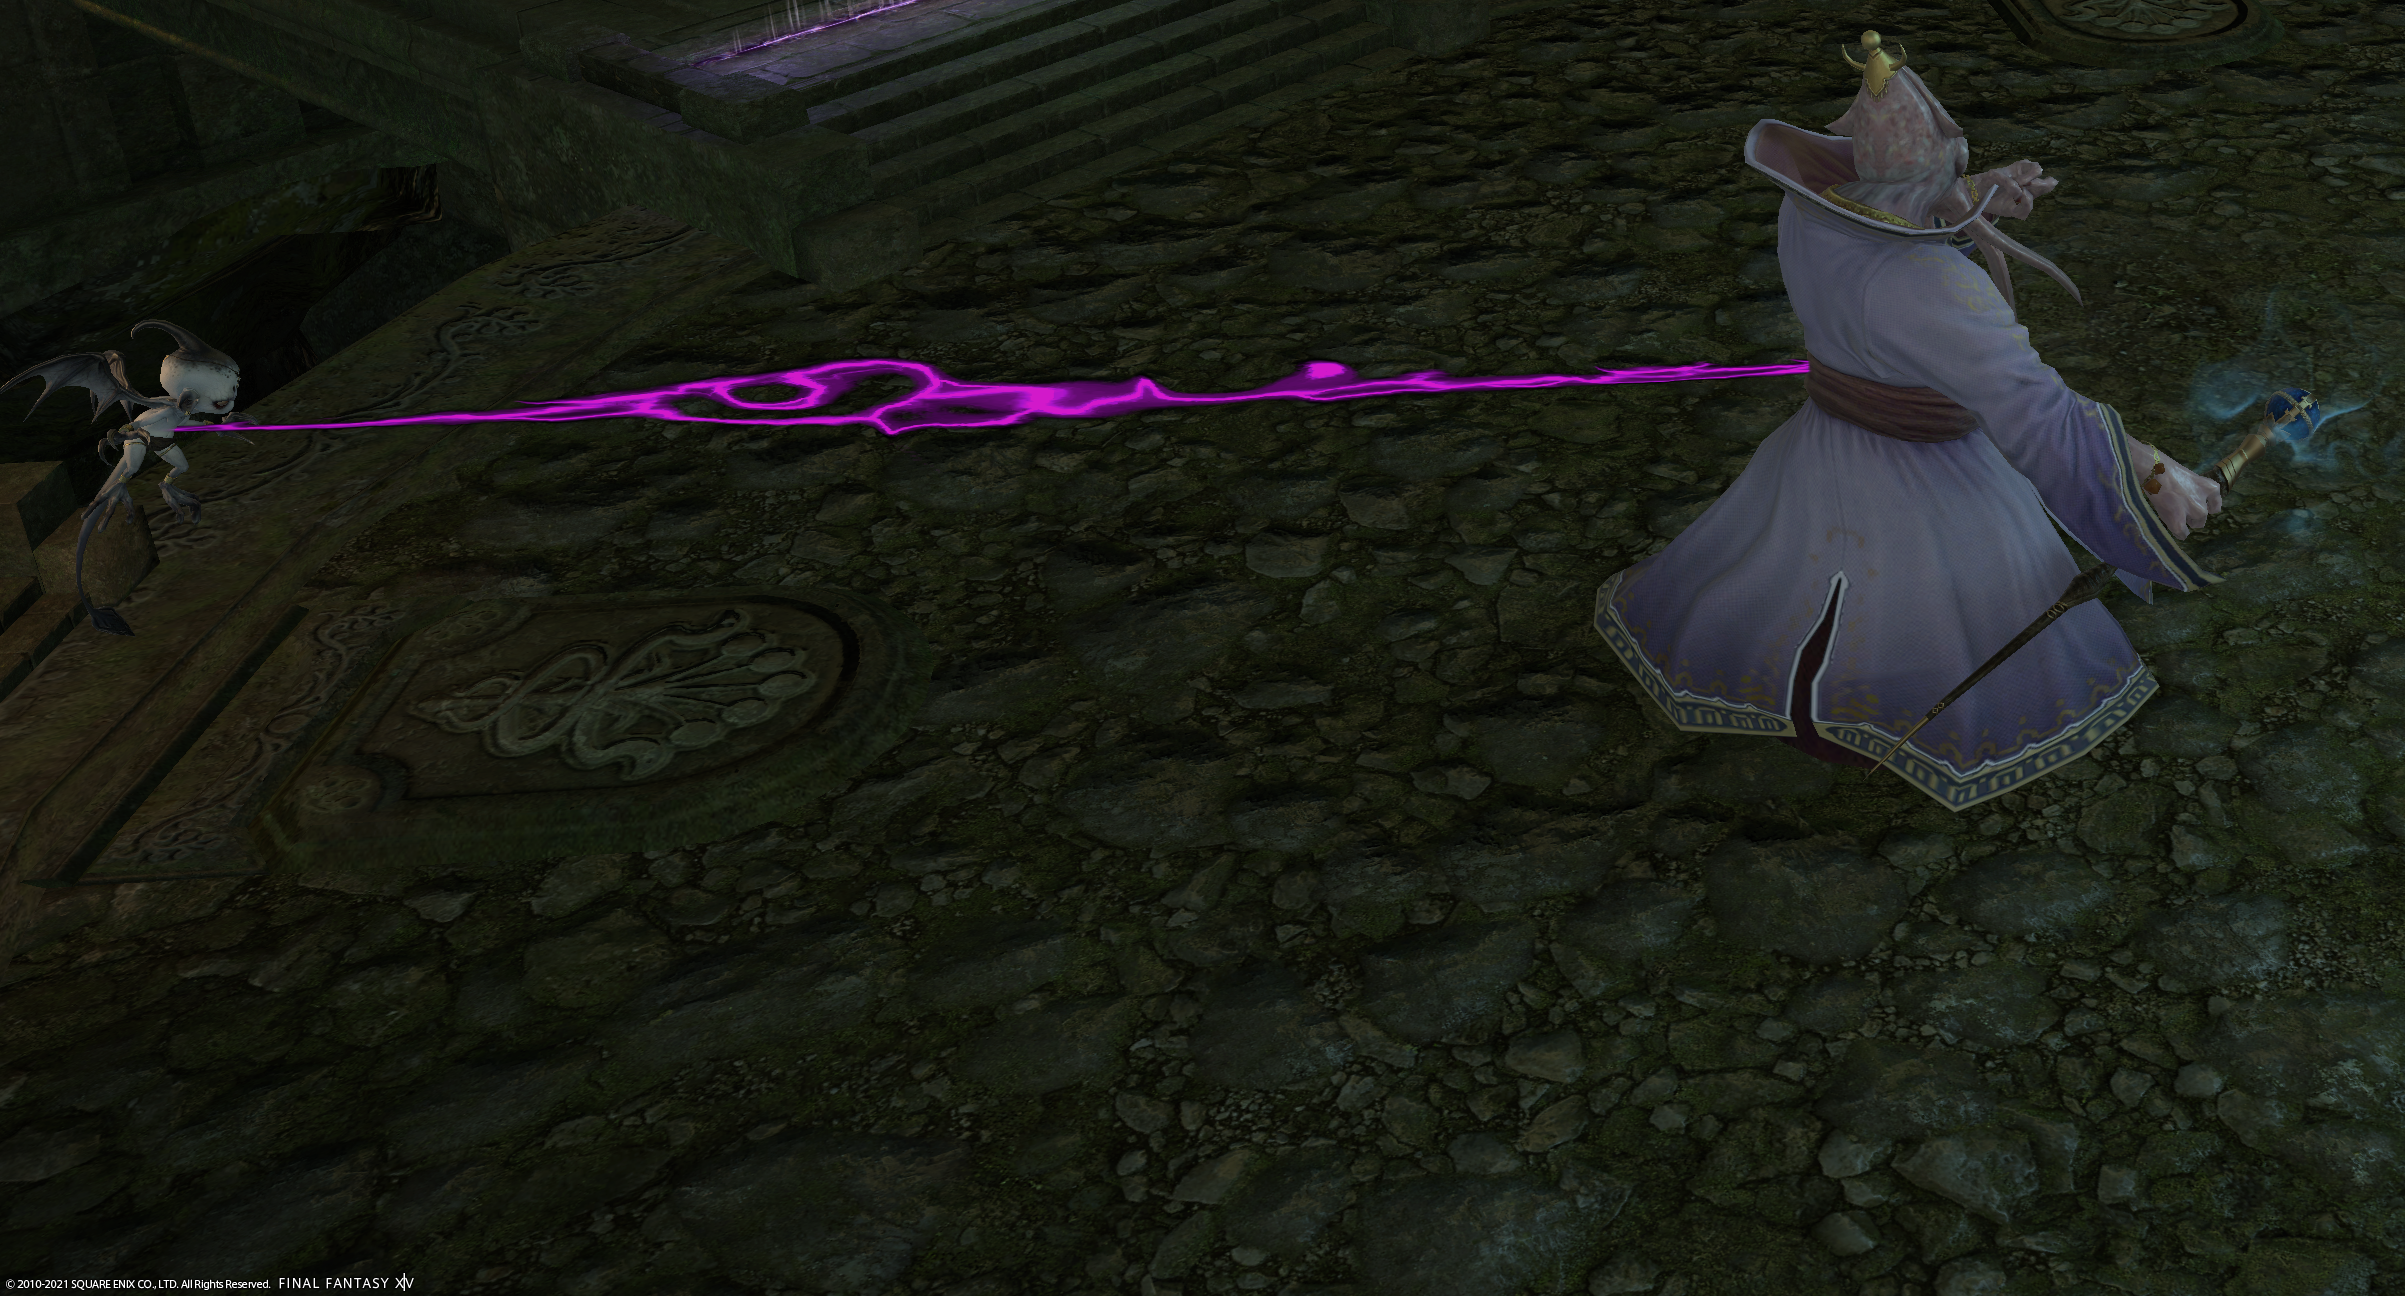 |
Tethered Add | If the boss has this type of tether on one of the additional enemies (adds), the boss is benefitting from the tether in some way. In many cases, killing the tethered enemy will resolve this mechanic. |
 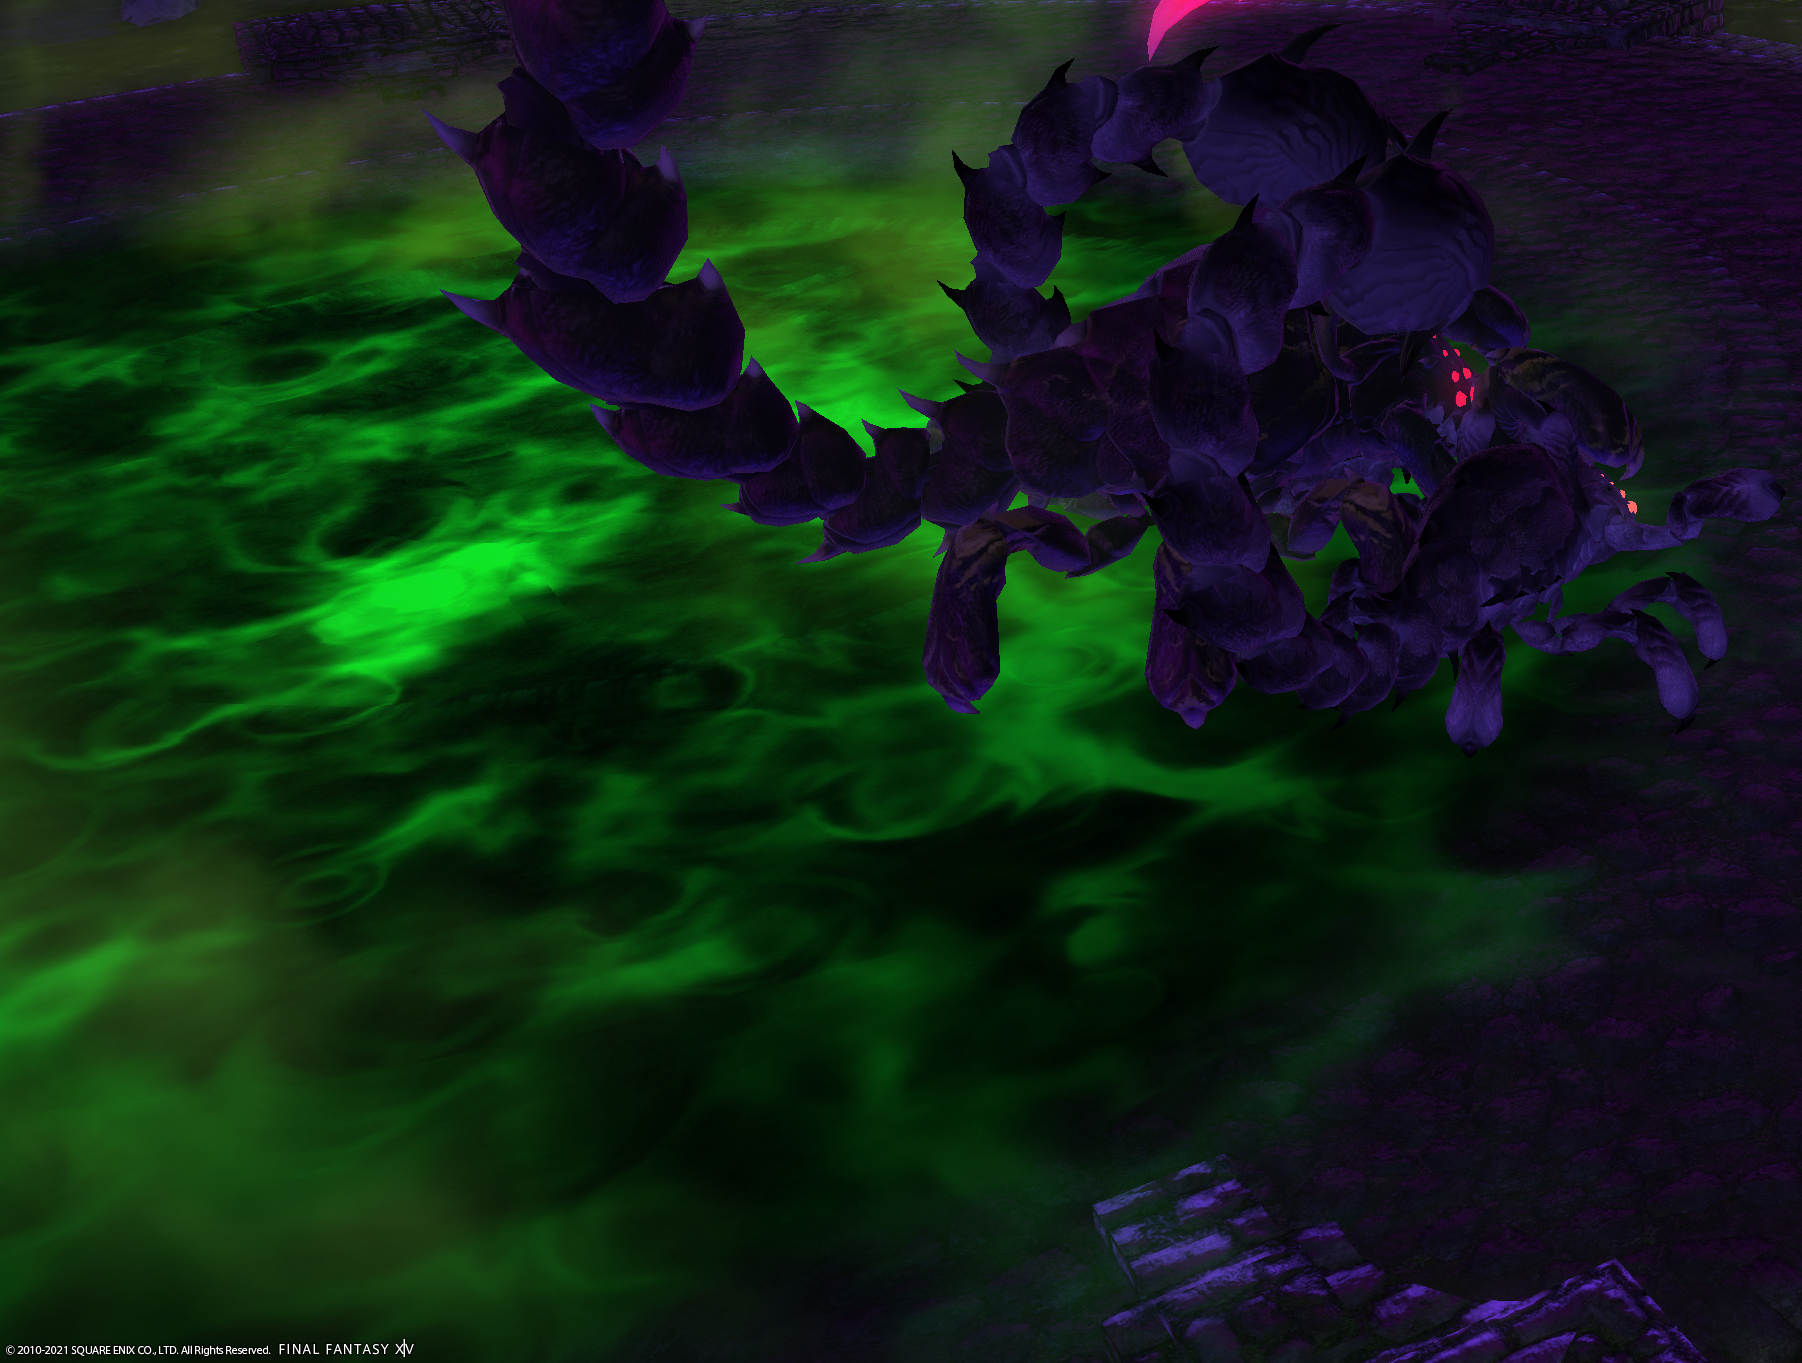 |
Puddle | A puddle is a persistent, harmful area that may temporarily appear during a battle. Avoid stepping in it. |
 |
Sealed Area | The area indicated by this marker will be sealed off after a short amount of time. One or more players should try to stand in this area before it is sealed off. Players outside of the sealed area will be unable to damage anything inside. The players who have been sealed inside should kill the enemies within. |
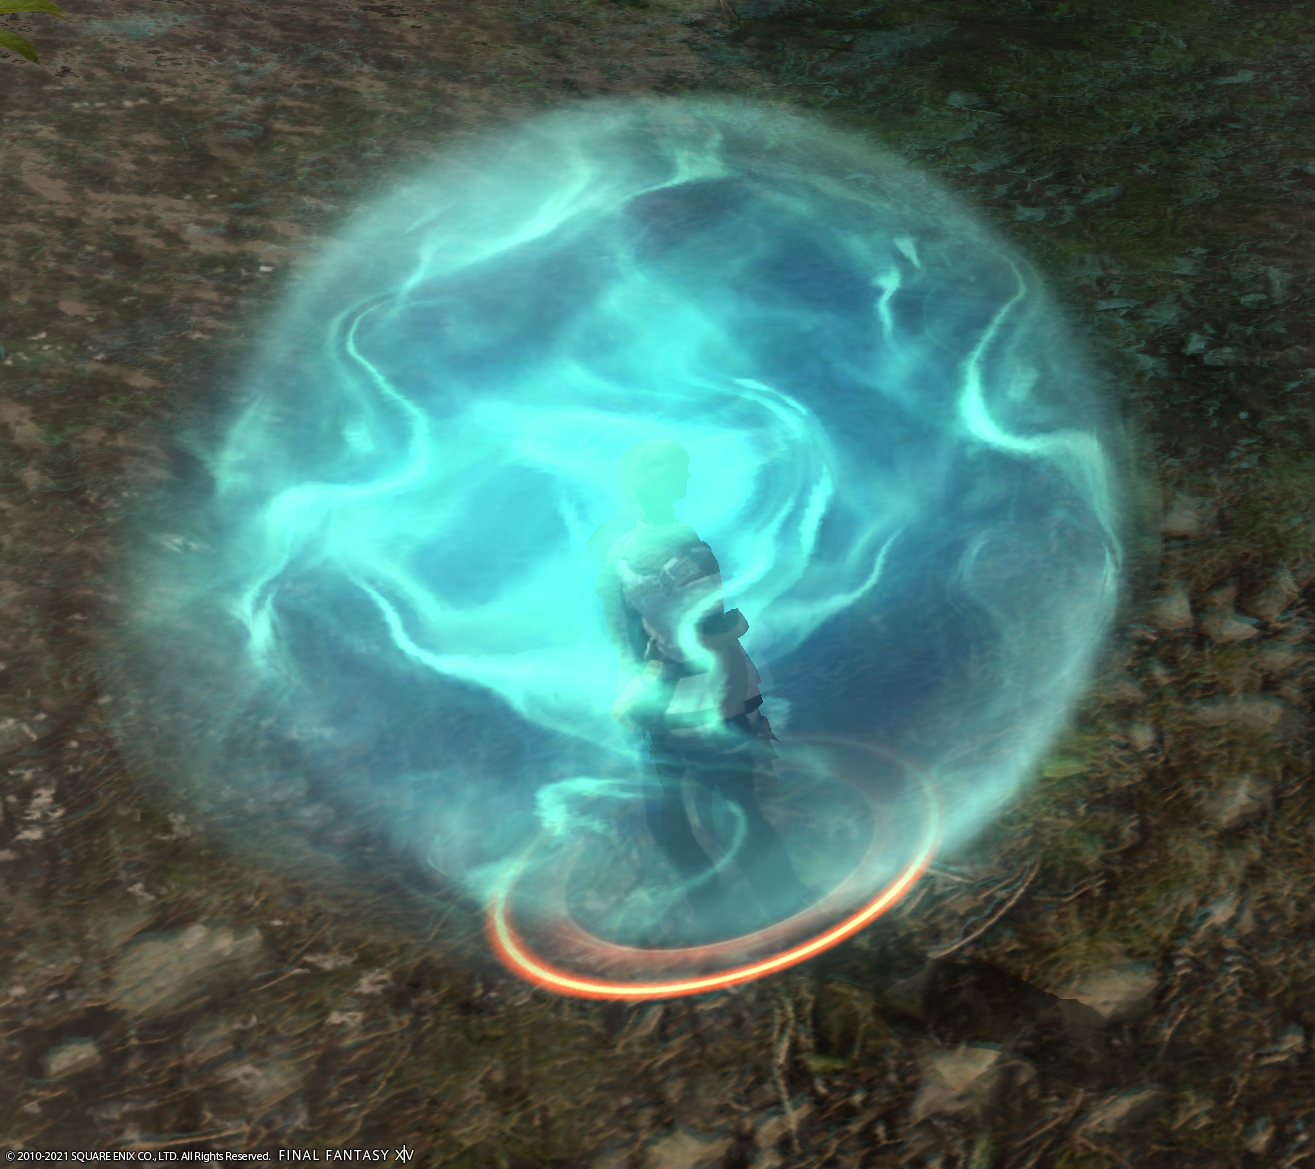 |
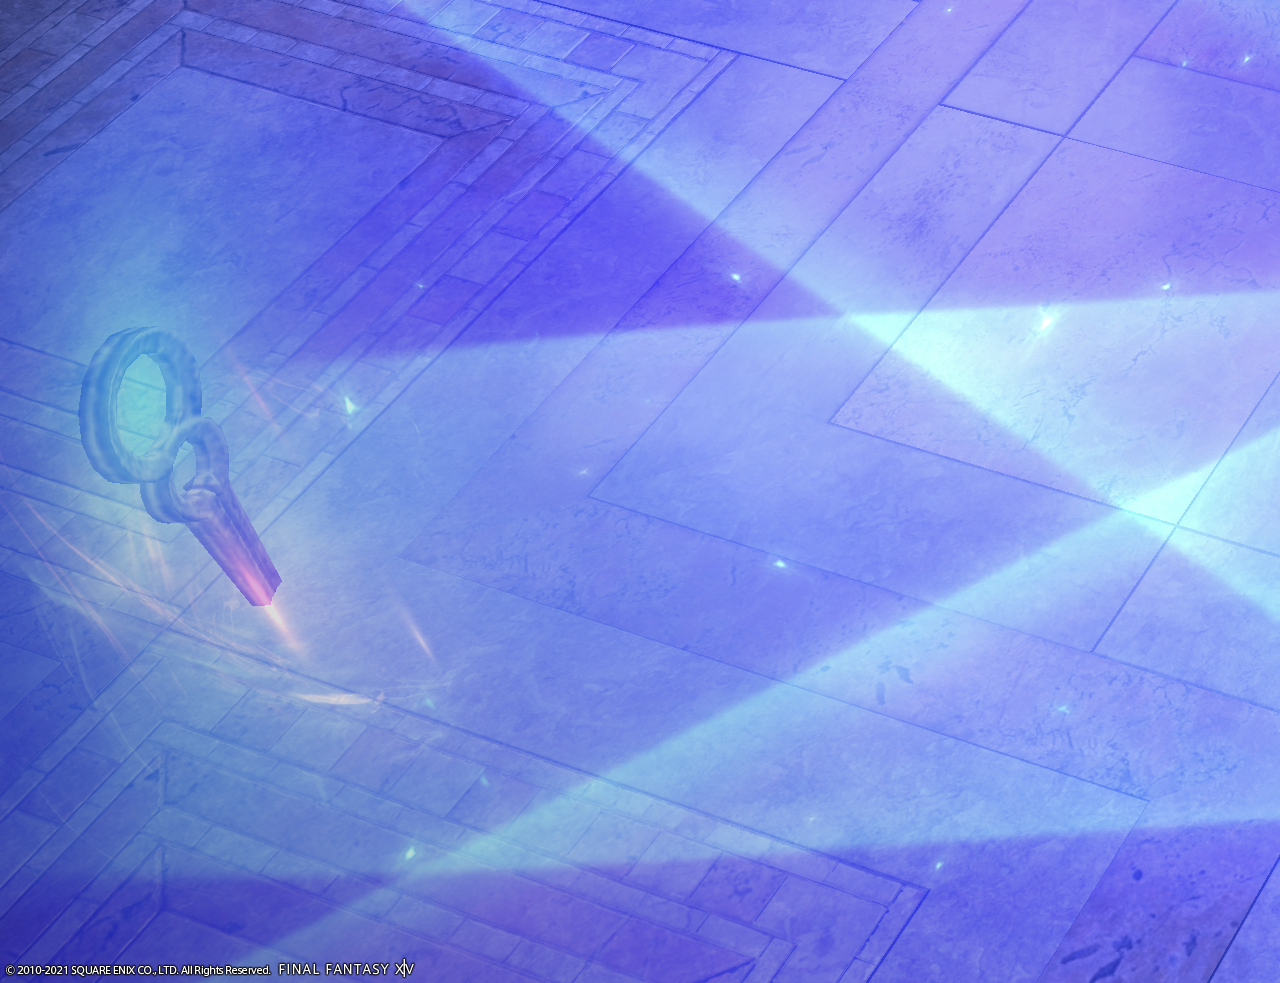
Binding Object | A player can become trapped inside of an object. They will be unable to move, may be unable to attack, and may take more damage while trapped. Players should quickly destroy the object that the player is trapped inside. |
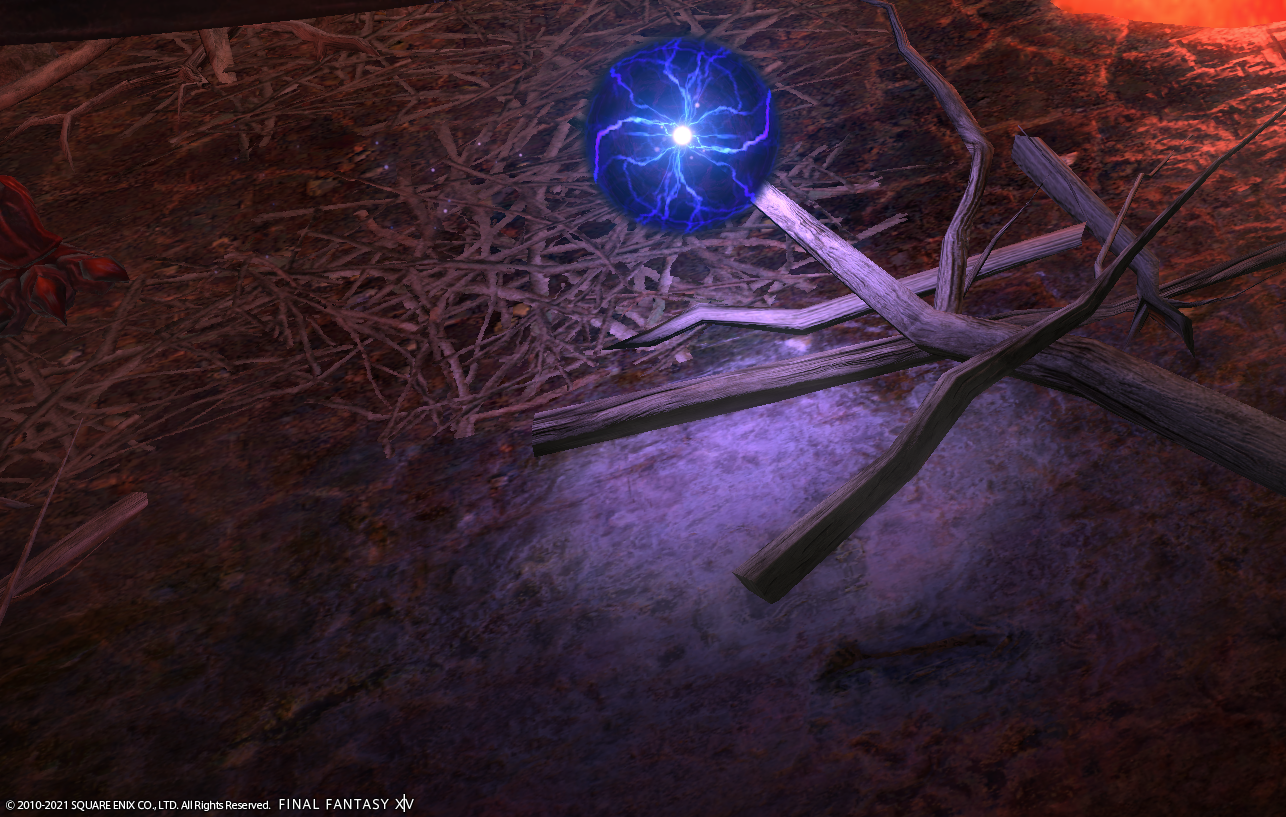 |
Following Orbs | The boss may create an orb (or other object) that follows a specific player. These orbs will periodically do a circle attack around themselves, so the player being followed needs to run away from the orb to avoid taking damage. The player should avoid bringing the orb near other players. |
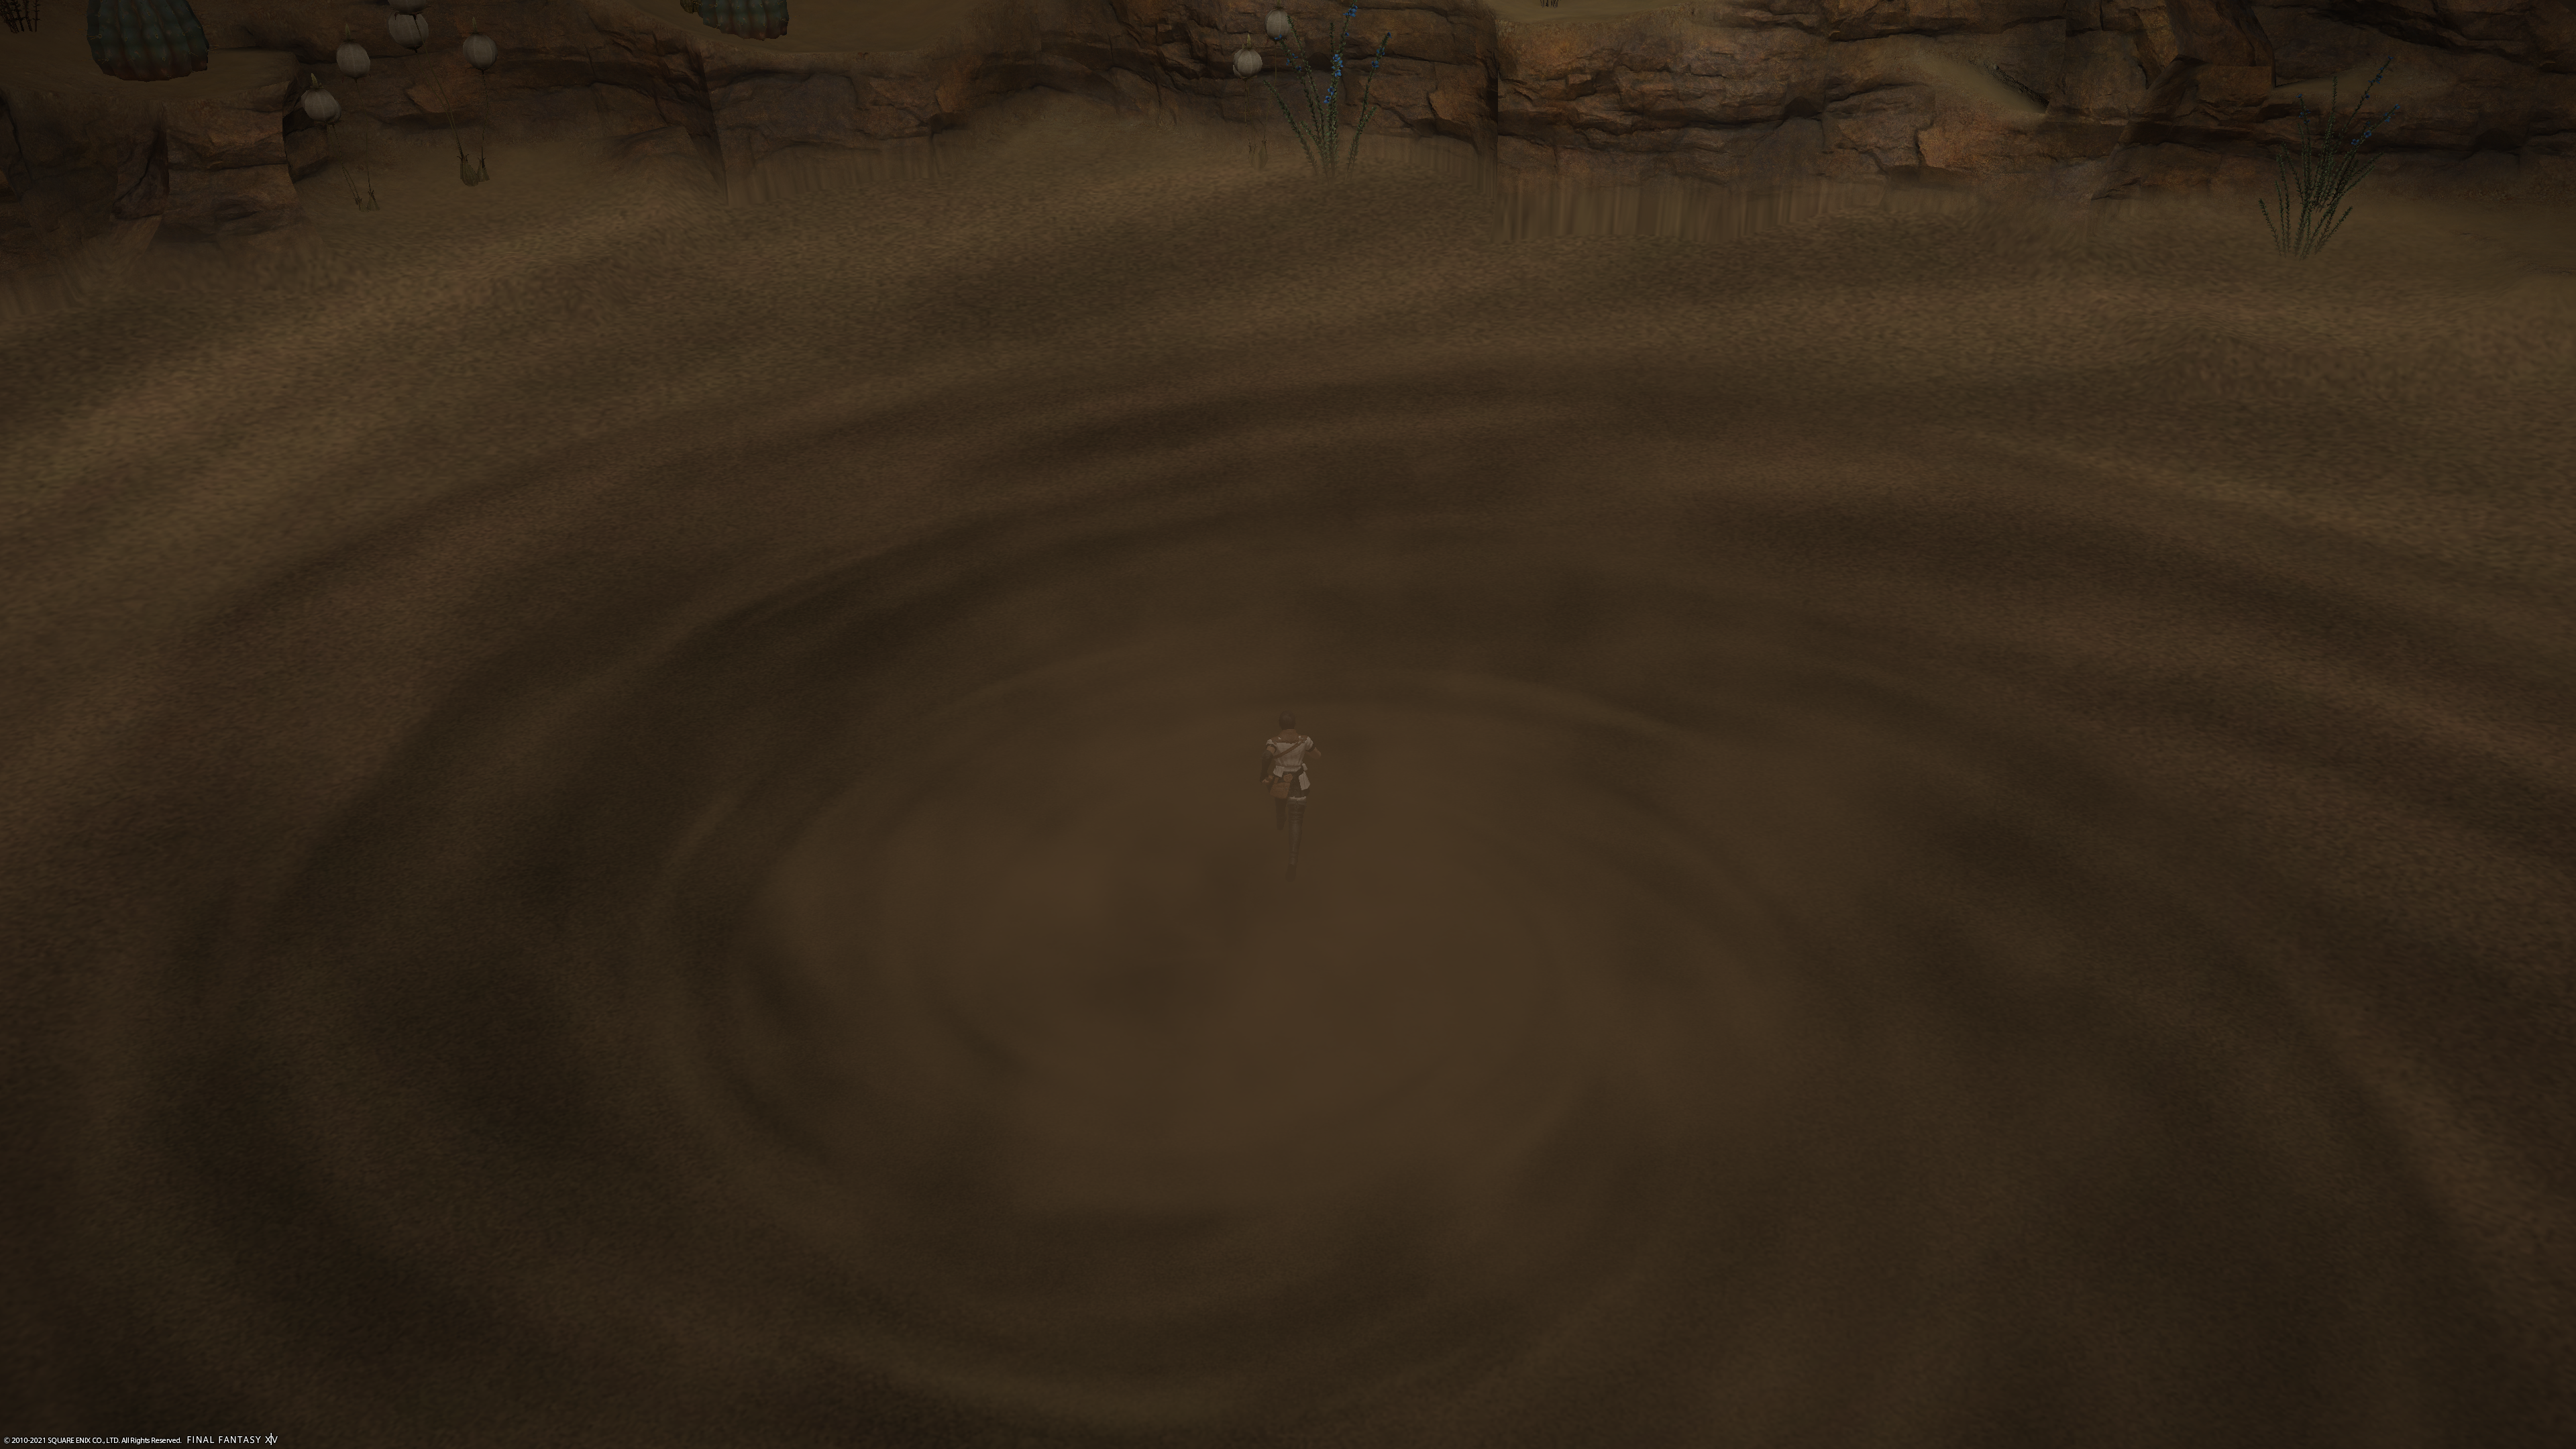 |
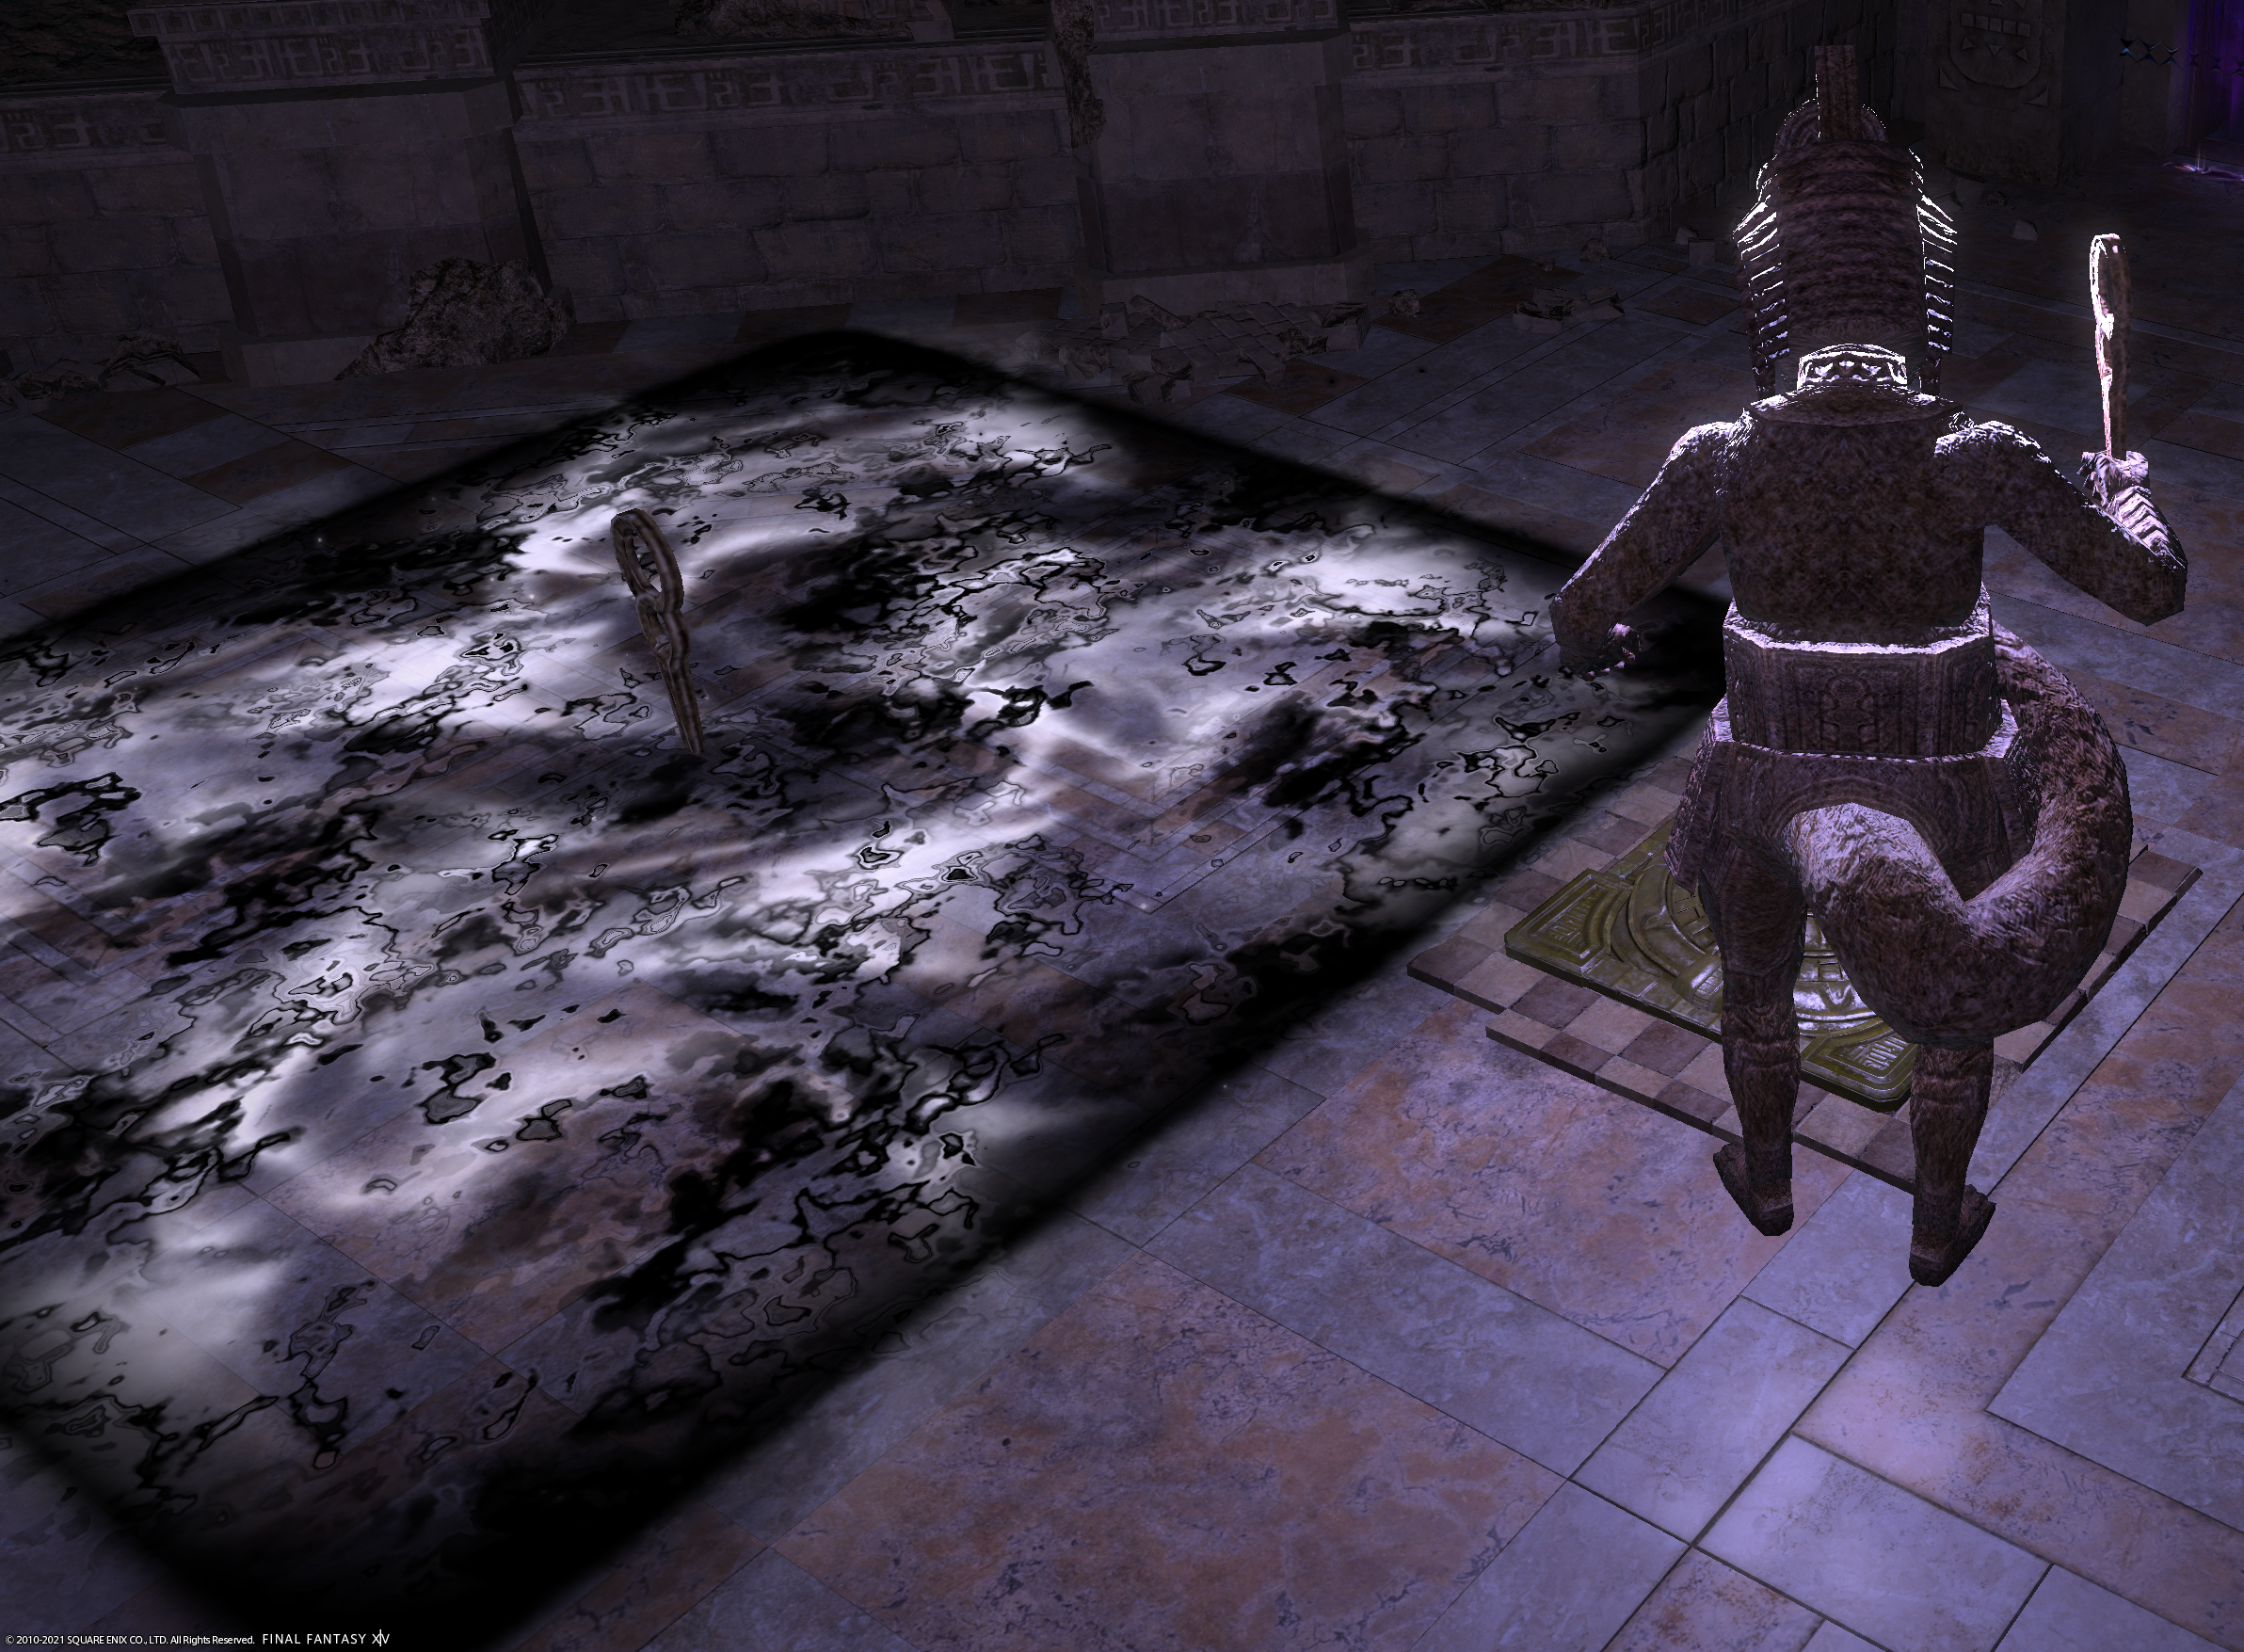
Quicksand | Quicksand pulls the player toward the center of the arena. Players should run away from the center of the arena to avoid excess damage. |
| To be continued... | ||
 Buy a 60 Day Game Time Card for Final Fantasy XIV